
|
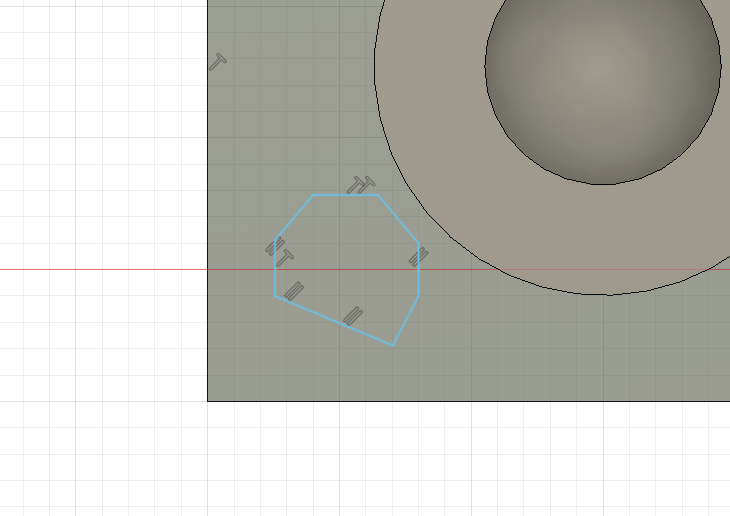
Scale Modeling Tutorials: 3D Modeling Basics for 3D Printing, Part Two https://ift.tt/2UTpBxA In my last article, I began to show you how to use Fusion 360 to create some basic shapes. Here, we take those skills further, exploring more functions in the software before getting into an easy, yet somewhat complex example. More Basic FunctionsThere are a ton of different operations you can perform on objects. Let’s go over one more useful tool. Let’s create an object and duplicate it around the cylinder. Type “L” and click the top surface of our box to create a new sketch and draw a line. You can now draw your own shape using lines. Click somewhere on the box to create the starting point of a line. Move your mouse to draw out the line and click to place the end point. Continue clicking to create more points and lines until you’ve created a shape you like. Make sure you connect your final point to the first point we drew. (In order to extrude a sketch, it’s important that the shape be totally enclosed). Now type “E” and click your newly created sketch to extrude it up. This time, however, select “New Body” in the Extrude window to create a new body and click ok.
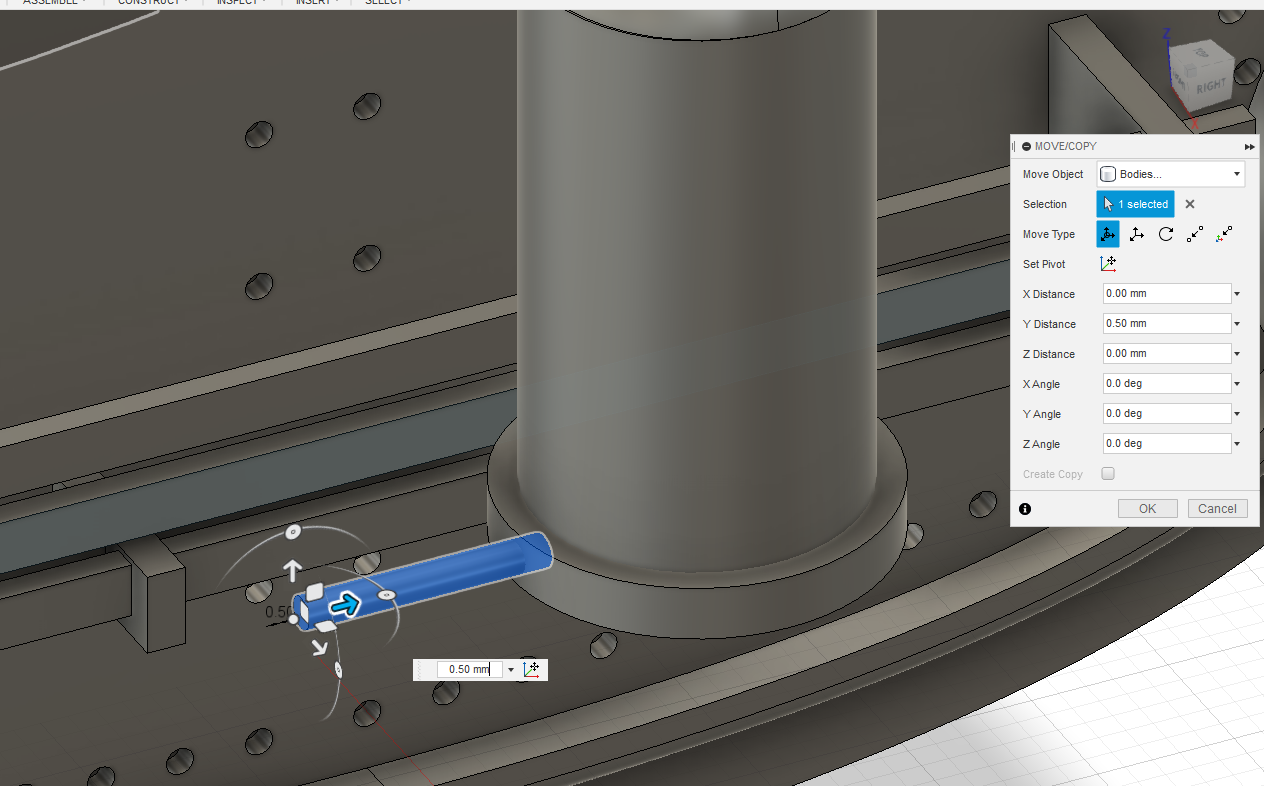
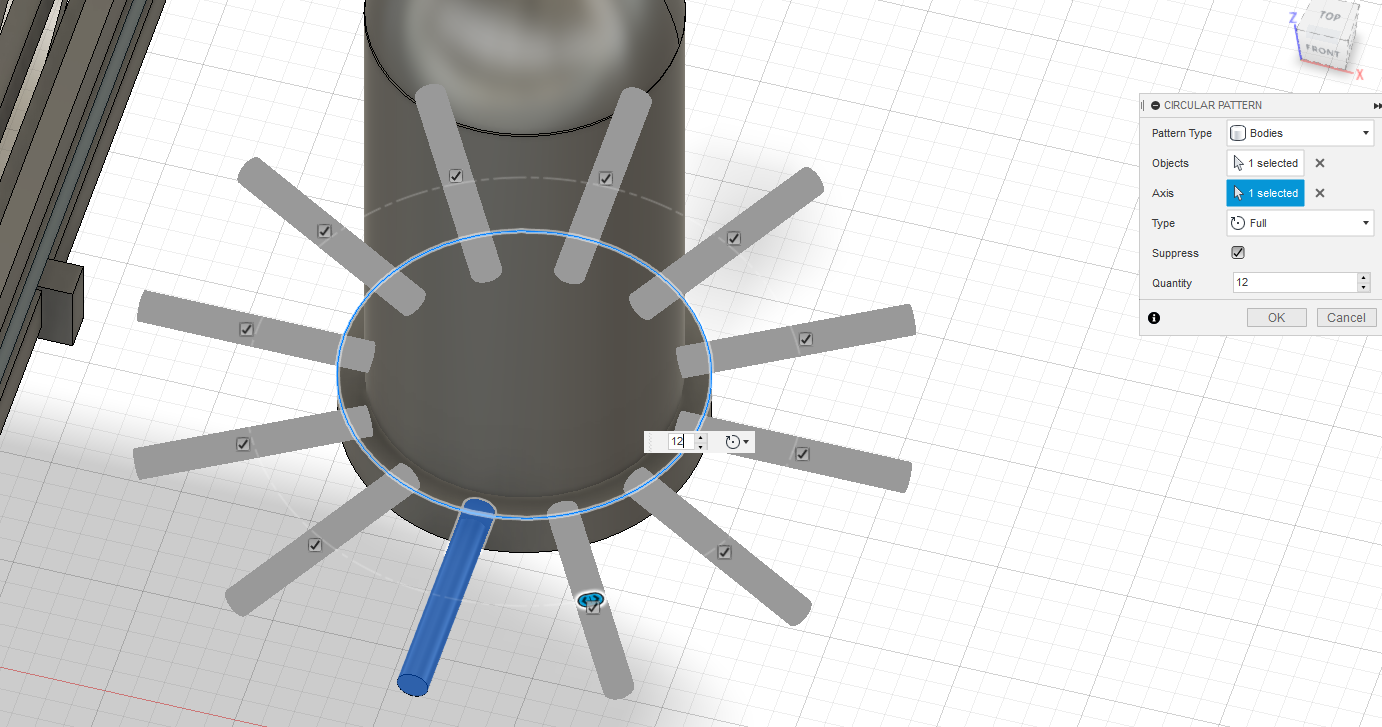
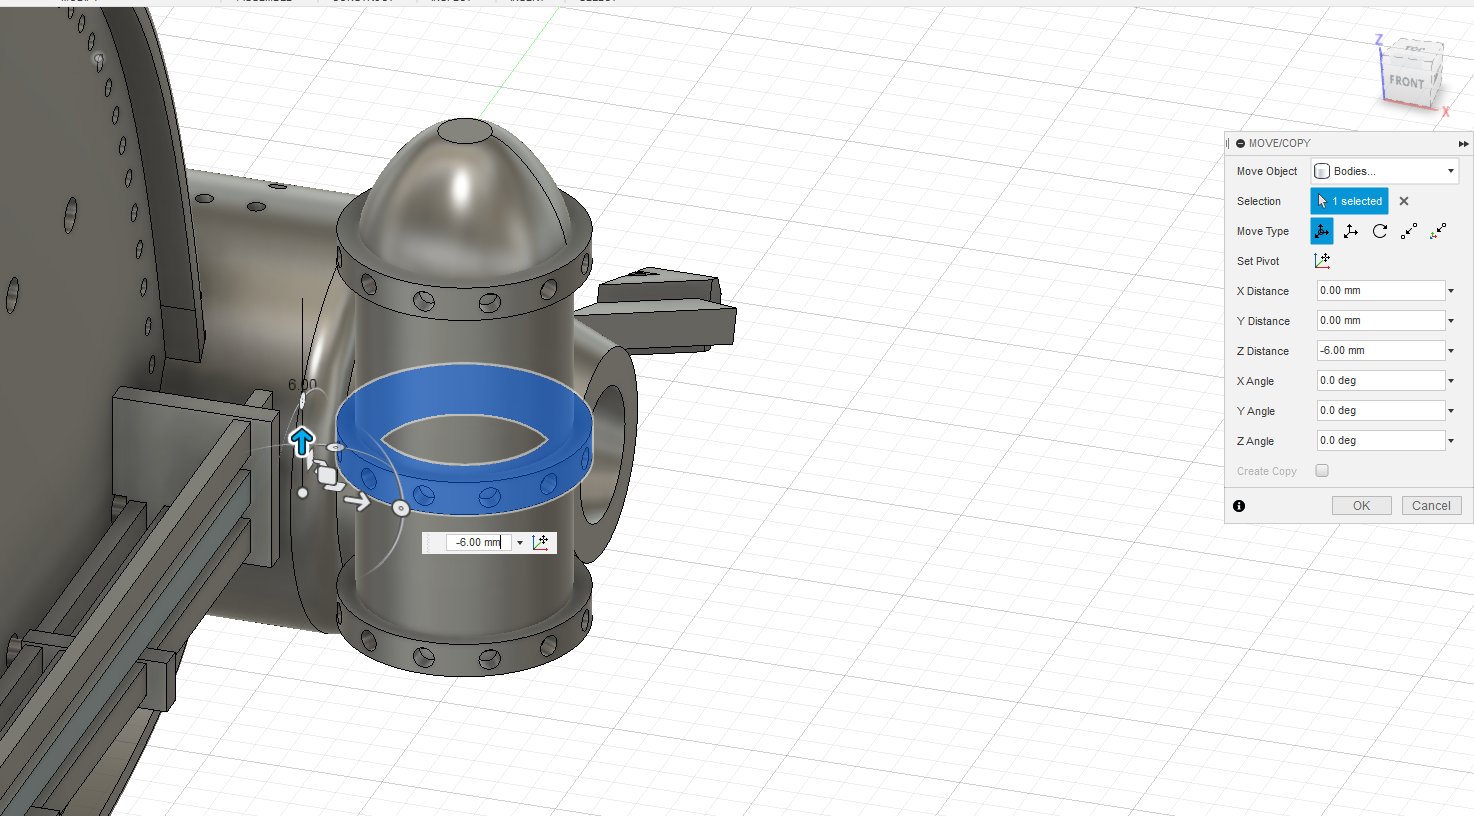
You can select an object simply by clicking on it. Click the new shape we just created and notice that it’s now highlighted in blue. (Note: if your cursor is only able to select faces, click the “Select” dropdown in the top right, click “Selection Priority” and click “Select Body Priority”). You can move the object by typing “M” and dragging it along the arrows, or using the curve symbols to rotate it. You can also duplicate an object by selecting it, clicking it, then typing Ctrl+C, Ctrl+V and moving the new object in the same way. For now though, let’s create a few shapes around the edge of the cylinder. So type Ctrl+Z to undo any moving or copying and pasting you just did. Now, from the “Create” dropdown in the top left, select “Pattern” and click “Circular Pattern”. You’ll notice a new “Circular Pattern” window. If not already selected, choose “Bodies” from the “Pattern Type” dropdown. Click our newly created shape to select it. It should now be highlighted in the “Objects” field of the window. Right below that, click “Select” in the “Axis” field. Now, hover over the base of the cylinder until it’s highlighted and click the circle. There are a few other objects in the Circular Pattern window, but, for now, let’s just increase the “Quantity” to four and click ok.
It may not be pretty, but you’ve just learned the basics of CAD design and created your first 3D objects. There are plenty of other functions to explore, but the basic process of creating sketches and objects, then manipulating them, can be used to create some pretty detailed models. Let’s quickly create a slightly more interesting model, using those same basic steps.
A Fun Example
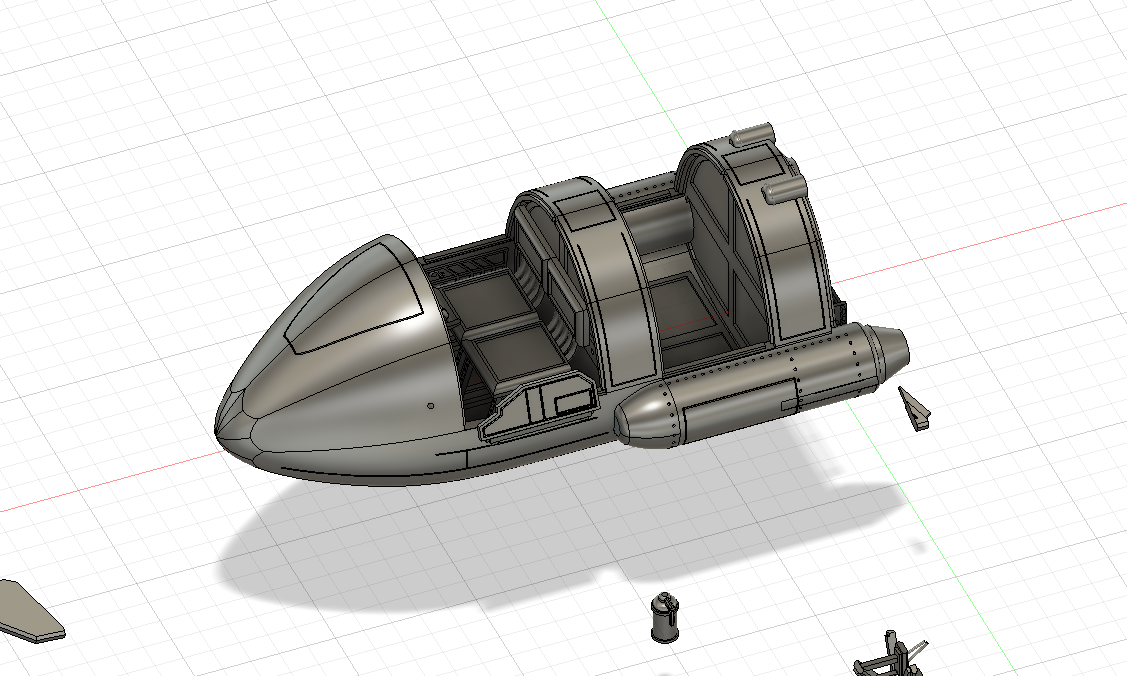
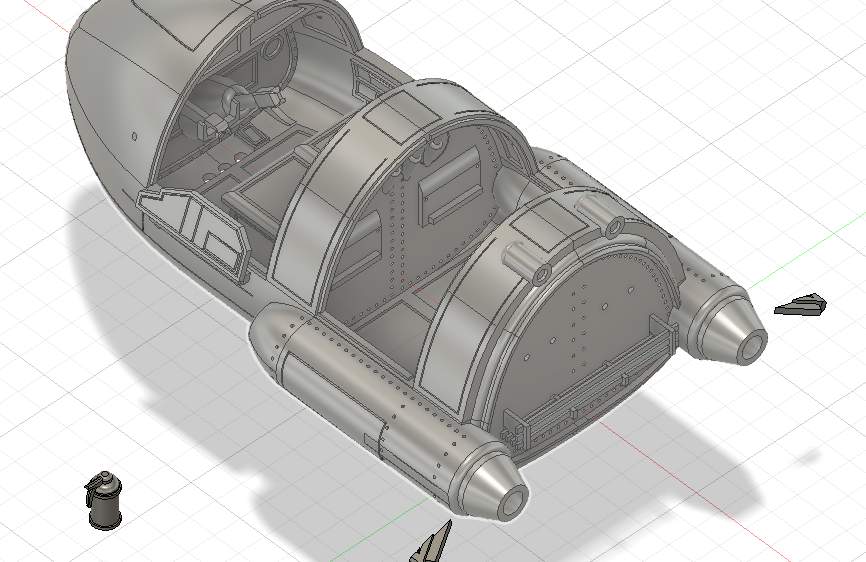
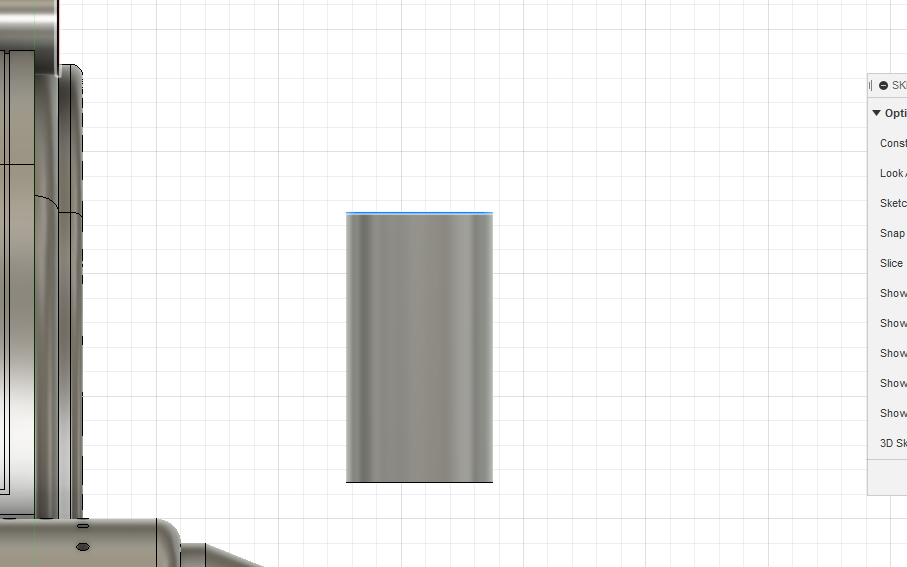
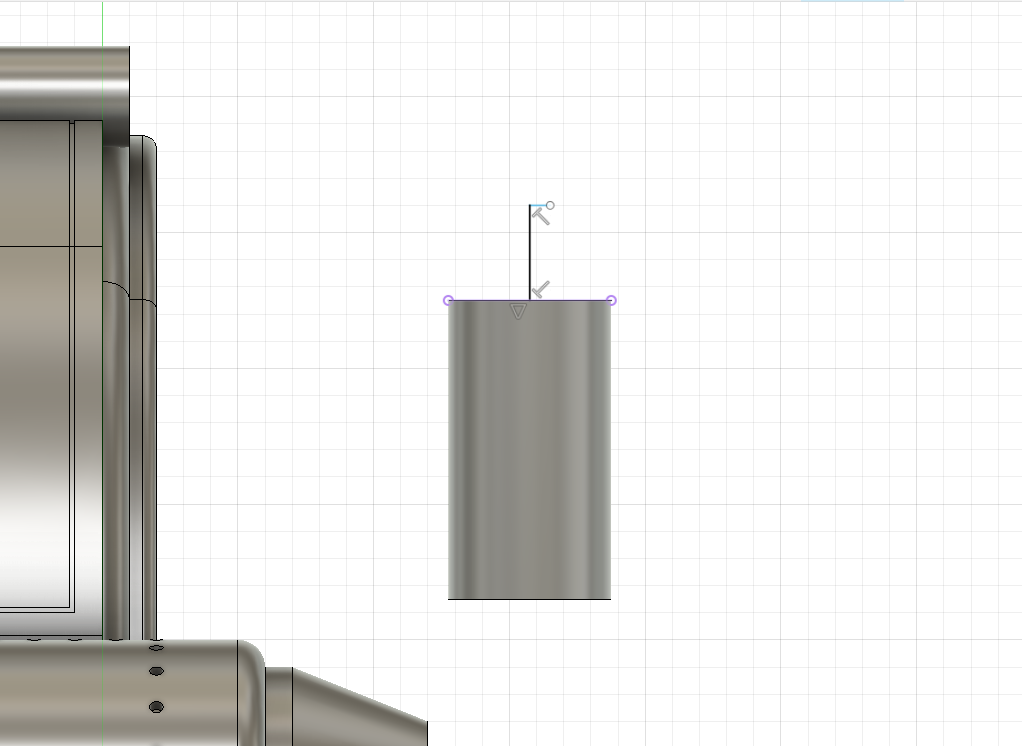
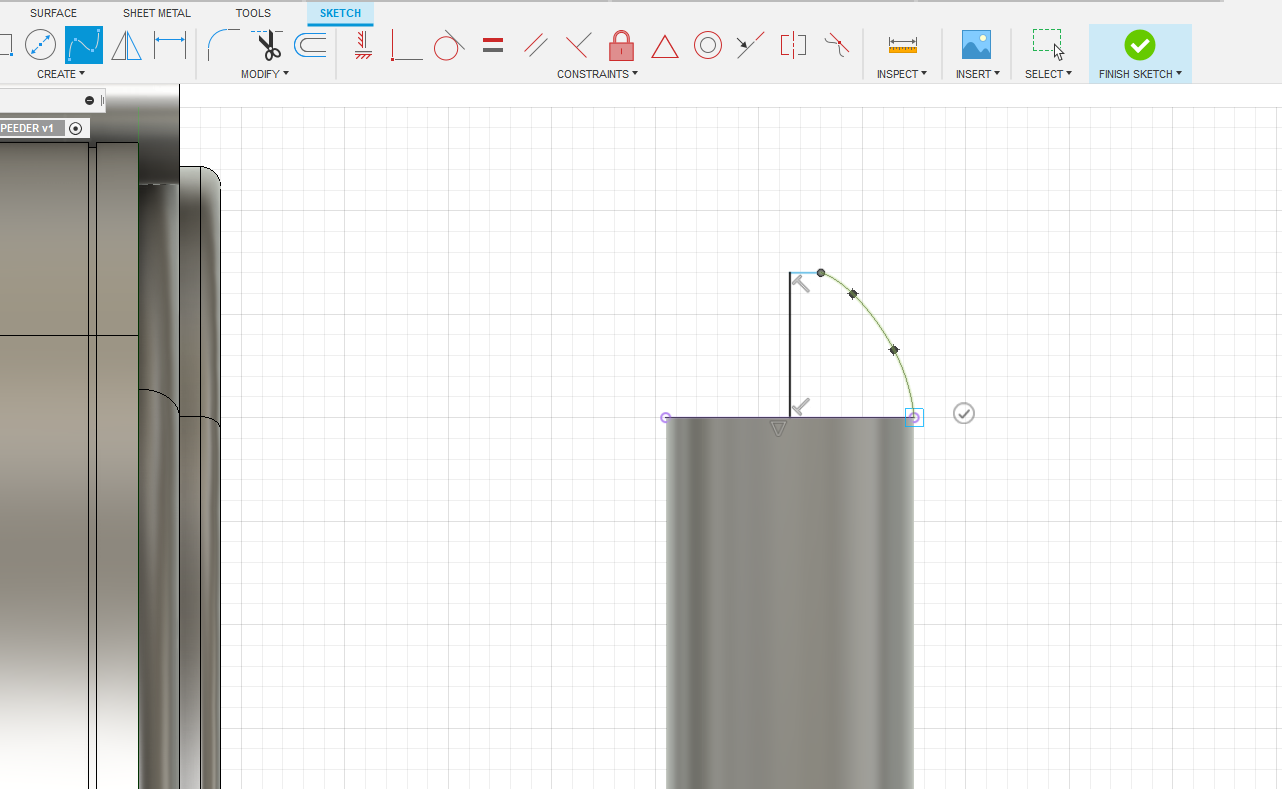
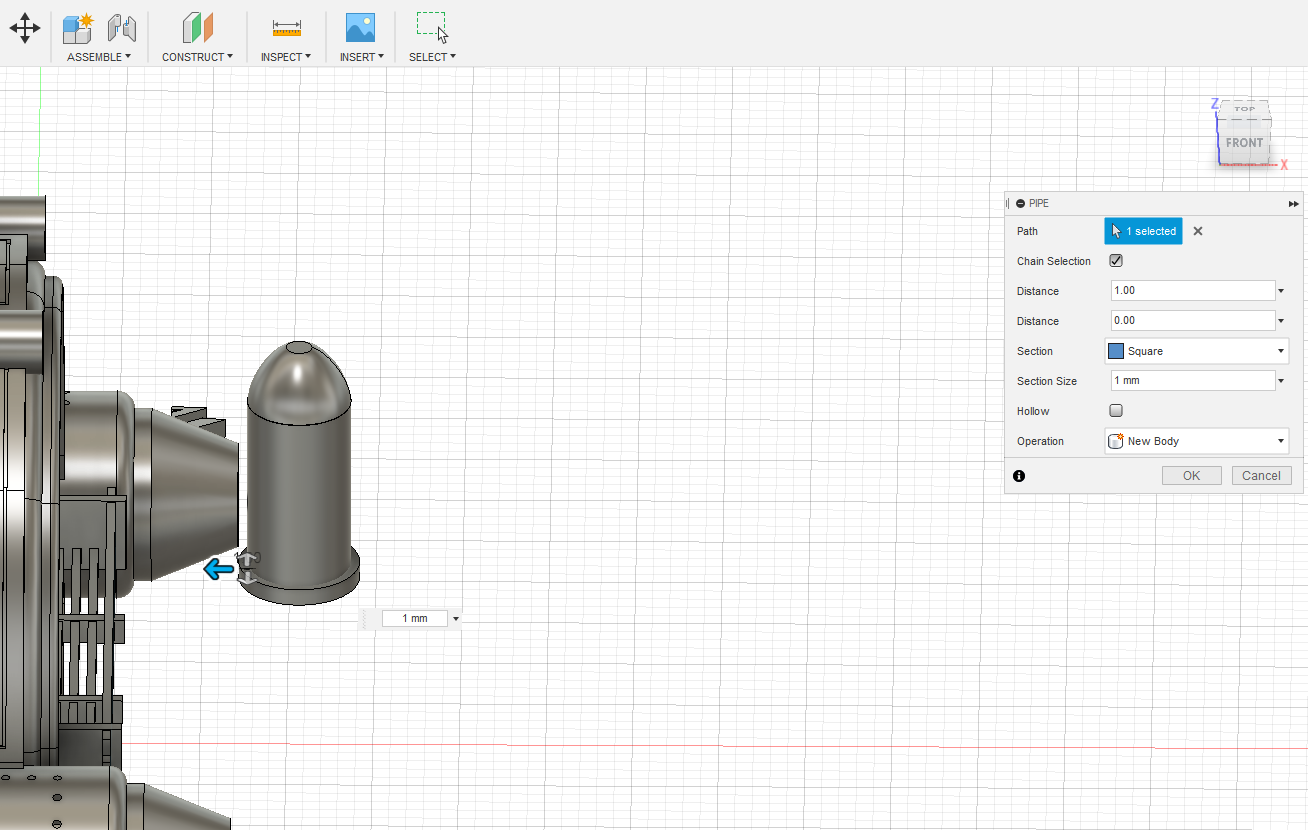
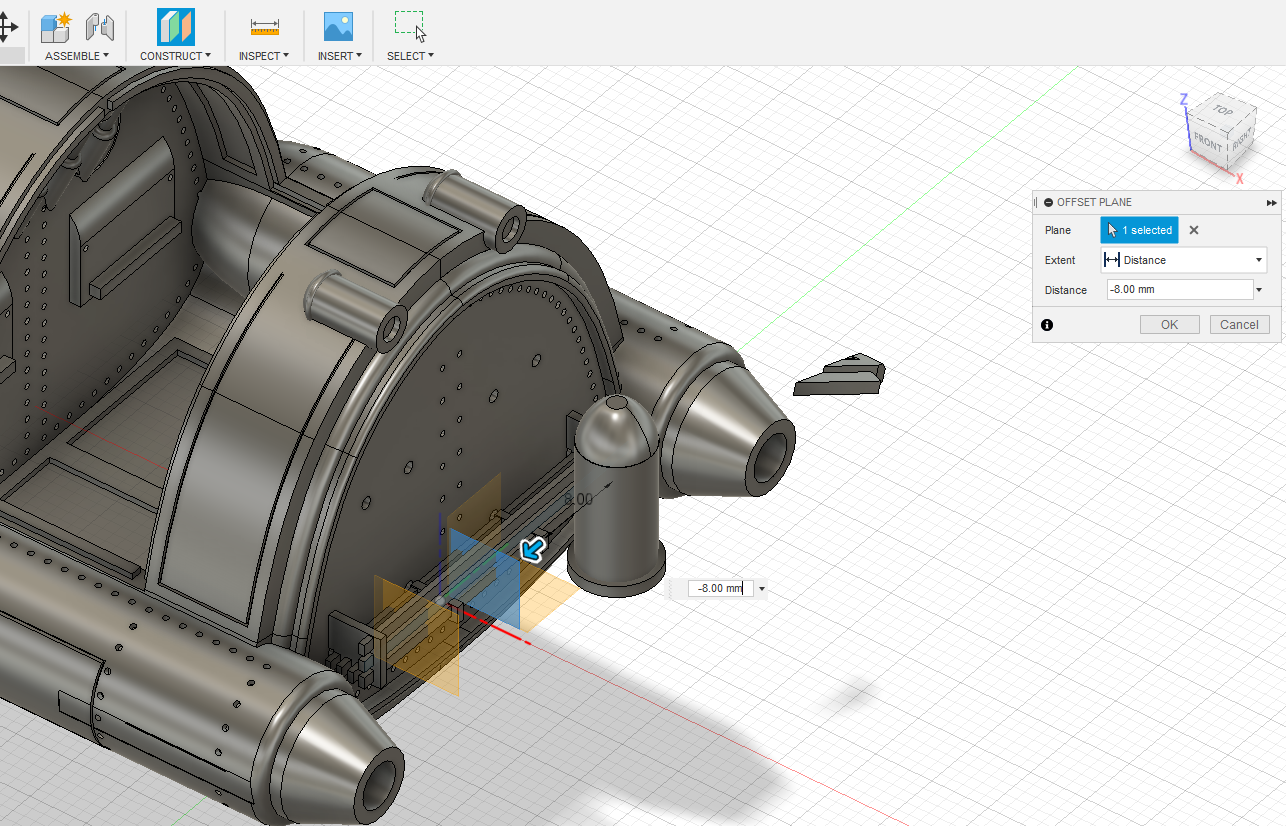
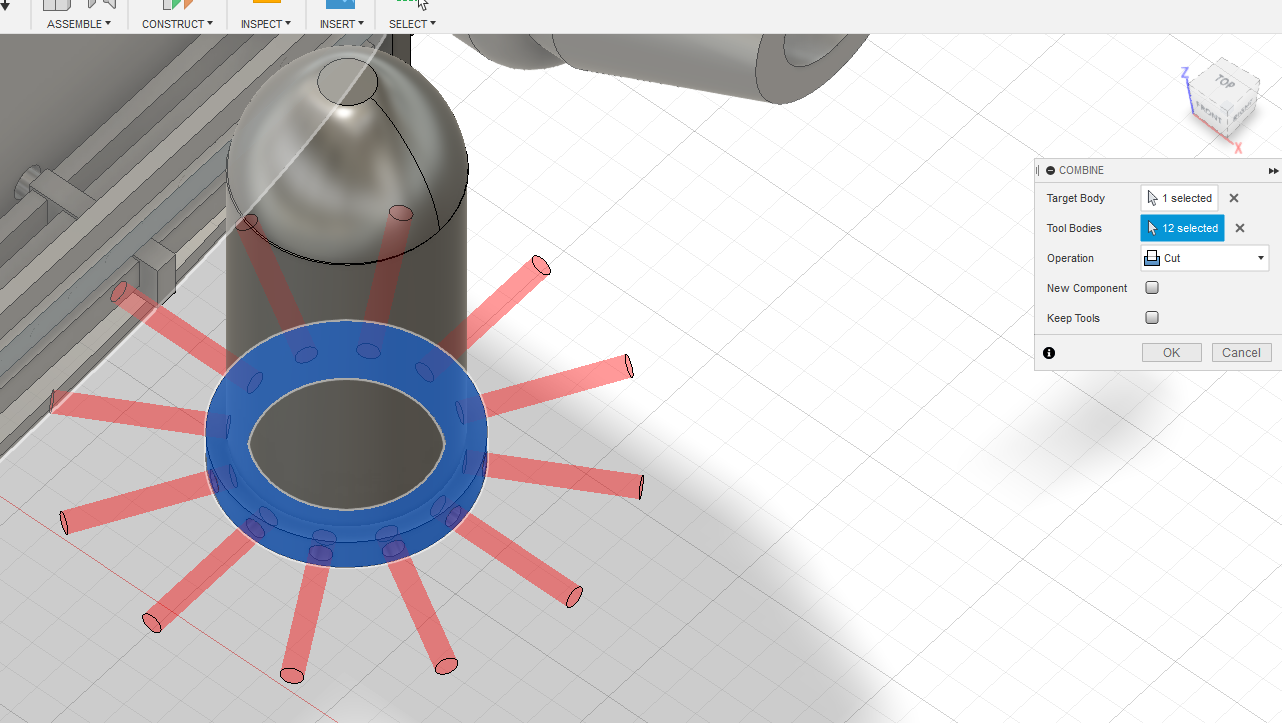
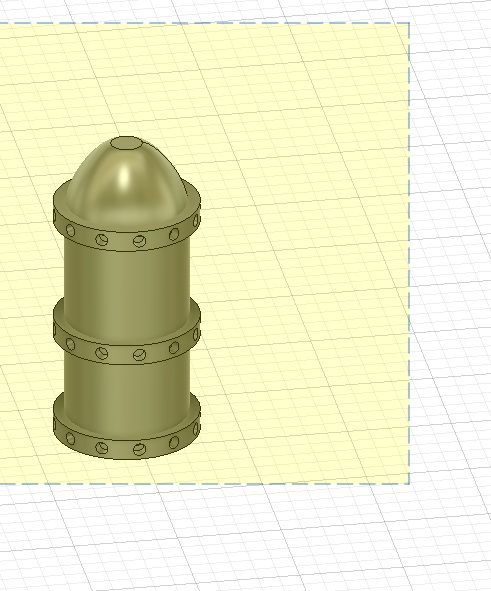
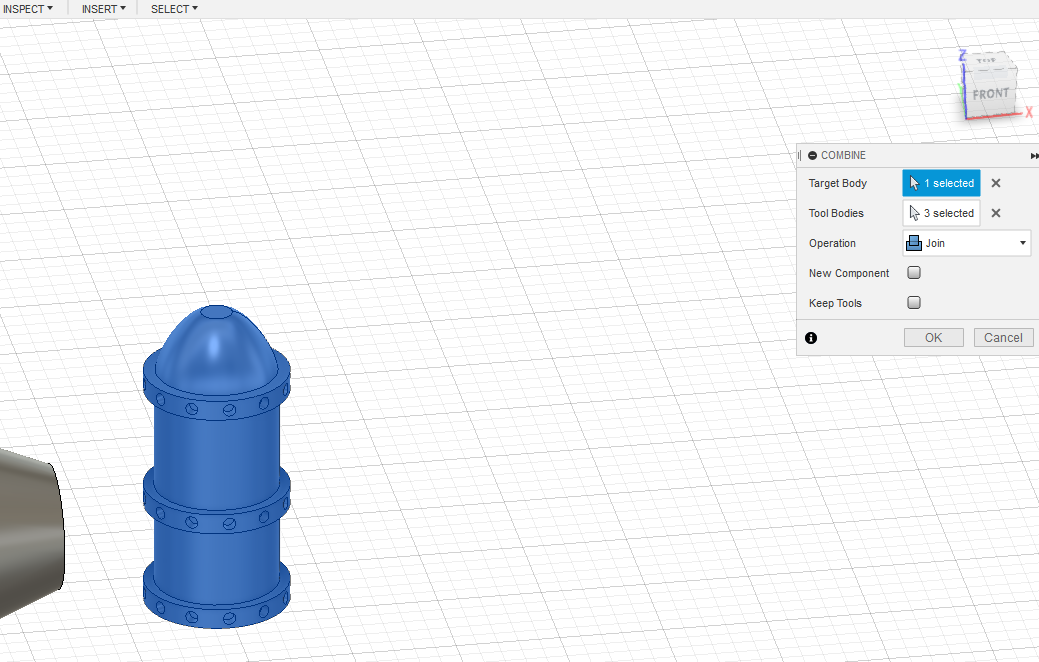
Here is a model of some kind of sci-fi speeder I’ve been working on. I’d like to create a few, small accessories to add to the model once I print it off. I’m going to make some kind of fuel tank or canister to attach to the back of the model. Here’s a quick walkthrough that showcases a few other useful functions.
So, there you have it. You now have the basic tools you need to start creating your own models and hopefully you can see that the process isn’t nearly as daunting as some people think. As with any skill, practice makes perfect and there are plenty of other functions available in Fusion 360, which I may cover in future tutorials. However, you can create some pretty impressive designs just using the basic process of creating sketches and manipulating objects. If you enjoyed this tutorial and want to see some of my models, check out my Instagram, where I share pictures of my designs and prints as well as painting tips. Printing via 3DPrint.com | The Voice of 3D Printing / Additive Manufacturing https://3dprint.com November 24, 2020 at 09:02AM
0 Comments
Leave a Reply. |
Categories
All
Archives
April 2023
|


 RSS Feed
