
|
https://ift.tt/2s2X21Q
How to Use Facebook Group Units to Organize Your Content https://ift.tt/2kedSHu
Wondering how the Units feature for Facebook groups can help? In this article, you’ll discover how to create and use units in Facebook groups. 
How to Use Facebook Group Units to Organize Your Content by Meg Brunson on Social Media Examiner.
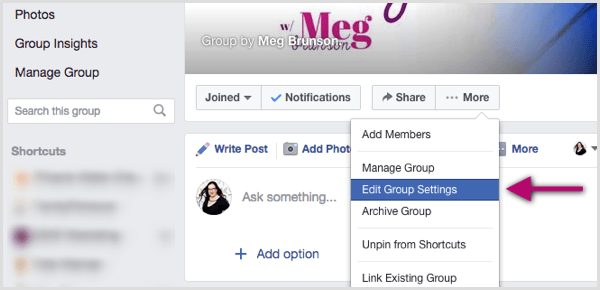
#1: Set Your Facebook Group Type to Social LearningFacebook recently added a new group type option called Social Learning. Groups classified in this way gain access to the new Units feature, which allows you to leverage the group as a platform for online course content or to simply organize your posts by topic. The good news is that changing your Facebook group type is quick and easy. From within your group, click the More button under the cover photo and select Edit Group Settings.
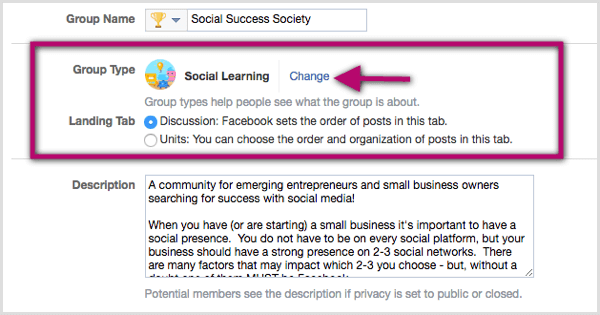
From here, simply click the Change link next to the existing group type classification and select Social Learning. Once you’ve set the group type to Social Learning, choose what tab you want visitors to see first. The group’s landing tab can either reflect the discussions among members or the units you’ll upload.
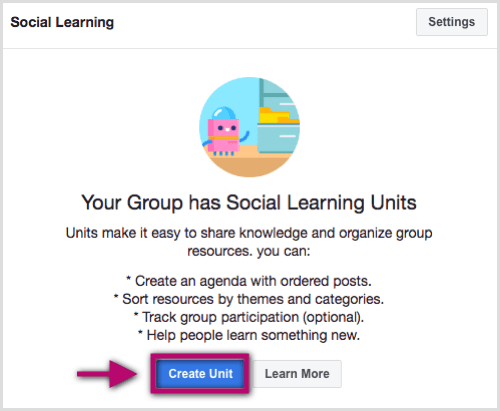
Of course, this section remains editable so you can always switch the group type back if you decide you don’t want to leverage the Units feature any longer. You can also change the landing tab at a later time if your preference changes. Once the group type has been set, you can begin to curate your group units. #2: Create Your First Group UnitWhen you’re ready to create your first group unit, navigate to the Units tab from within your Facebook group and click Create Unit.
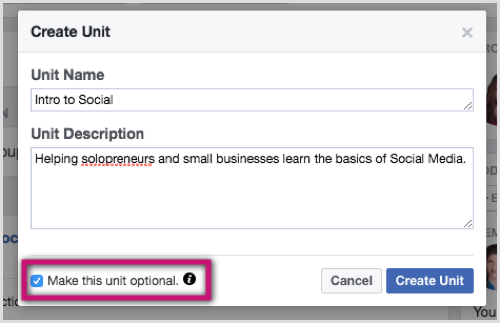
To create your group unit, input a unit name and description. Then decide whether you want the content to be optional. If you make the content required, each group member will receive a completion goal. They’ll be informed that they’re expected to complete the unit and they can track their progress. If you select Make This Unit Optional, it won’t be required and won’t count toward completion goals.
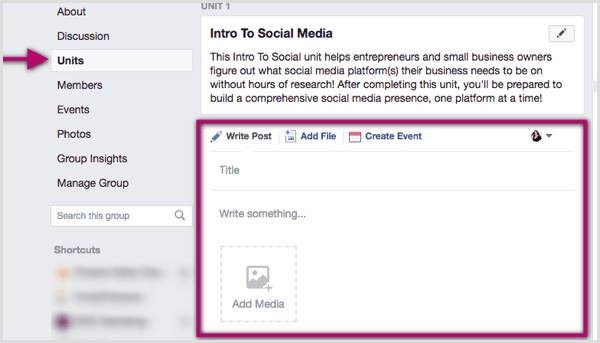
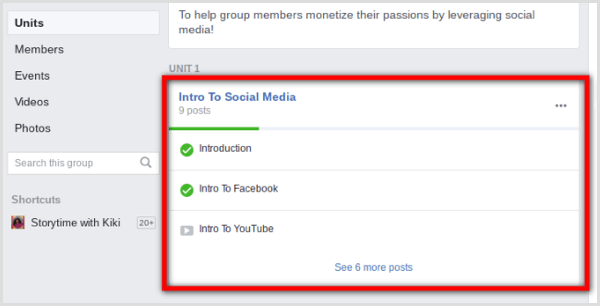
When you’re finished, click the blue Create Unit button and you’ll have created your first unit. #3: Add Content to Your UnitThe next step is to add content to the unit. Each unit can organize in excess of 50 posts. (I haven’t yet seen a limit announced by Facebook, or hit a limit in any of the groups I’m in that use this feature.) You can add content to a unit two ways: by posting directly to a group unit or by adding an existing post to a group unit. Post Directly to a Group Unit To post new content directly to a group unit, navigate to the Units tab of your group. When you click into your newly created unit, you’ll see space to write a post, add a file, or create an event, depending on what elements you want to include in your unit.
Continue adding the rest of your posts. I add 1-2 posts in the unit per day. These unit posts appear as posts in the group, so adding them gradually helps ensure that group members aren’t overwhelmed with the content. Add an Existing Post to a Unit If you want to add an existing post to a unit, navigate to the post on the group wall and click the three little dots in the upper-right corner. From the post menu, select the group unit to which you want to add the post or choose to create a new unit for the post.
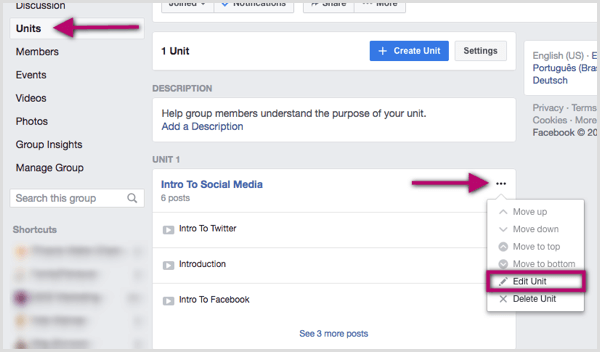
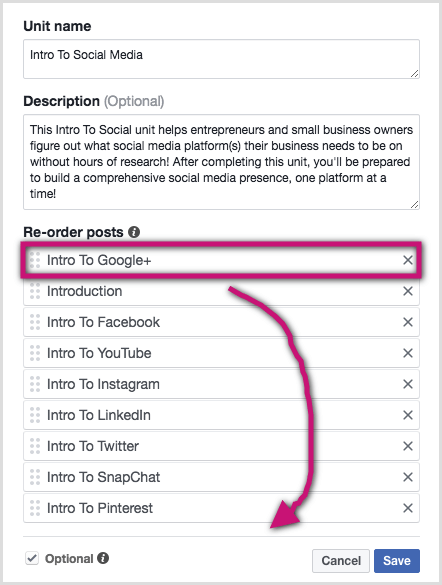
When prompted, enter a title for the post and click Add to Unit. The post will then be published to the group unit. #4: Reorder Posts Within a Group UnitAfter you’ve added multiple posts to a unit, ensure the order of those posts makes sense when members visit the Units tab. The order of posts on the Discussions tab will always be based on the most recent activity, but you have some options for customizing the Units tab. On the Units tab, click on the three dots to the right of the group unit you want to edit. In the drop-down menu, you can edit the name, description, and/or order of the posts contained within that group.
The post order setting defaults to listing the most recently added post first. To reorder the posts, simply drag and drop the posts into the order you prefer.
#5: Analyze Group Unit Completion DetailsIt’s important to note that as a group admin, you won’t have the same view as your members. When members sign into the Units section, they’ll see the progress they’ve made toward completing the required units, as well as a breakdown of each unit. In the screenshot below, you can see that 0 of 1 required units have been completed, and in the one required unit, the member has made some progress. The posts that the member marked as “done” have a green checkmark. A green progress bar appears below the unit title, showing how much progress the user has made in the unit.
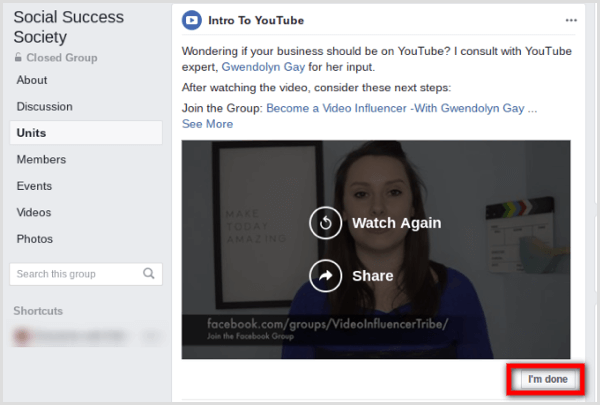
As group members go through each unit, they can mark each post as complete by clicking the I’m Done button at the bottom of the post. This allows members to keep track of their progress, and you can monitor the progress of the group as a whole or specific members.
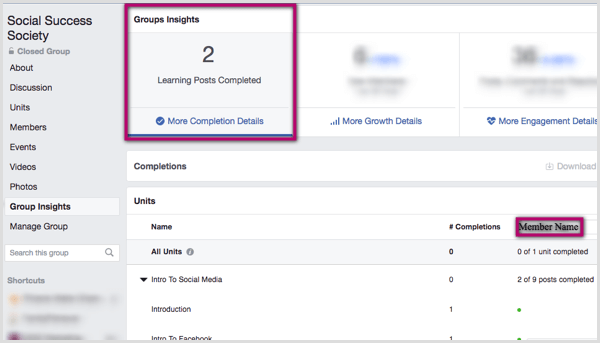
As the group admin, you’ll get some basic information from the Units tab, mainly how many people have viewed the units. However, for more in-depth statistics, navigate to the Group Insights tab within your group. From here, you can see how many learning posts were completed. Click on More Completion Details to see a full breakdown by unit. This information helps you determine which posts members complete most often. To see the progress for a specific member, enter that member’s name in the Member Name box.
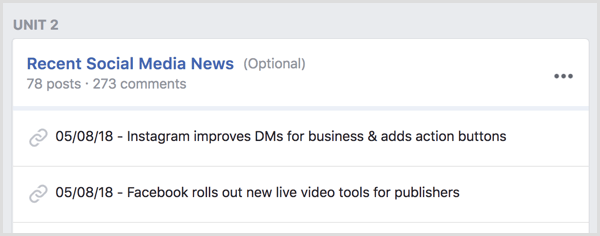
#6: 5 Ways to Use Group UnitsNow that you know how to set up and use Facebook group units, let’s look at creative ways you can leverage them to enhance your group. Welcome New Members When you welcome new members to your group, introduce each admin and/or moderator and outline the rules and expectations. If you make this content required (by not checking the Optional box), you can track each member’s progress and ensure they mark each step as complete. Provide Topical Educational Content Remember that it’s against Facebook’s terms of service to charge members to be a part of a group. The group can be a “bonus” for buying a product or service, but you can’t monetize the group directly. Uploading free course content ensures that group members have a minimum baseline of information, which is useful if your group addresses advanced topics. Collect Updates and Breaking News Create a unit for breaking news and updates that are relevant to your group. Order these updates by date to allow members to have one place to go to quickly and easily find the updates deemed important by the group (posts that otherwise may get lost in other group chatter).
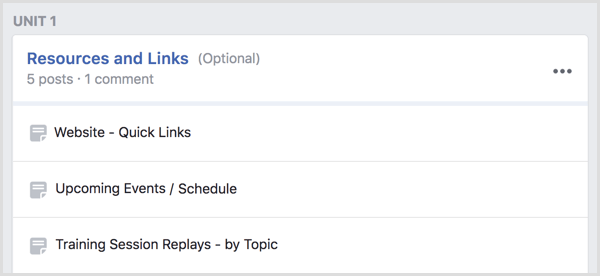
Run a Challenge To engage your group, schedule 7-10 days of content and then organize it in a unit for future members. Any “homework” from the challenge can be posted in the post’s comments or on the Discussions tab. Provide Resources and Links Organize frequently referenced files, events, or links to make them easy for group members to find.
Tip: Because Facebook is a borrowed platform (meaning you don’t own it), I recommend you keep a backup of all of your content just in case something happens to the group. You also may want to build an email list of group members through offering opt-ins (in addition to the content you provide through the units) for the same reason. Conclusion When you change your Facebook group type to Social Learning, you gain access to the Units tab. You can leverage units to engage with your group in a variety of ways, including welcoming new members, facilitating a challenge, offering course content, or organizing posts. Facebook group units allow you to track progress of your group members, and analyze what units and posts are most popular among your members. What do you think? Have you added the Units tab to your group? What types of content will you share in units? Please share your thoughts in the comments below.  Social Media via https://ift.tt/1LtH18p May 22, 2018 at 05:06AM
0 Comments
Leave a Reply. |
�
Amazing WeightLoss Categories
All
Archives
November 2020
|


 RSS Feed
