
|
https://ift.tt/2HWXLrp
How to Build a Facebook Ads Funnel by Modeling Email Sequences https://ift.tt/2M1hE2U
Wondering how a Facebook ads funnel can help? In this article, you’ll discover how to create a sequence of Facebook and/or Instagram ads based on your email marketing funnel. 
How to Build a Facebook Ads Funnel by Modeling Email Sequences by Tammy Cannon on Social Media Examiner.
#1: Outline Your Ad Sequence FunnelMost sales funnels include an email follow-up sequence, which is a series of pre-written emails that are automatically delivered on certain days in the funnel. Each sales funnel is different and can include a sequence of a few emails to many emails. To create a dynamic ad sequence, you replace the emails with Facebook or Instagram ads for each topic. After people opt to receive the lead magnet, they automatically start seeing a nurture ad instead of a nurture email. Setting up a dynamic ad sequence inside of Facebook Ads Manager takes some work up front and can be as simple or as complicated as you want. Once it’s set up, all you have to do is make sure the right ads are delivered on the right days inside of the sequence.
First, you want to outline your entire funnel and choose how many total days are in the funnel. Decide which ads will show up on specific days throughout the funnel. Here’s what an email sequence might look like for a lead magnet offering a cheat sheet or checklist:
Here’s an sample of the same type of campaign, adjusted for a dynamic ad sequence with four Facebook or Instagram ads:
For the rest of the days up to day 27, you could simply repeat this funnel with a new nurture ad, ask ad, and testimonial ad. On days 27-30, you might promote an upsell or signature course. It’s really about doing what feels best for your business. #2: Prepare Your Facebook or Instagram Campaign ComponentsAfter outlining your dynamic ad sequence, the next step is to make sure all of the Facebook or Instagram campaign components are in place. You’ll need a landing page that people will visit after they click ad #1 (the hook ad). After they opt in, you direct them to a thank-you page that has the Facebook pixel installed. The pixel will then fire and add these people to a custom audience of people who converted. Set Up Your Landing Pages and Event Pixels When people click on your ad, they’re usually taken to a specific URL on your website or a third-party landing page. You might create your landing page in Leadpages and install the PageView event on it. Wherever you decide to send people from your ad, add the Facebook pixel to the Head section of your web page.
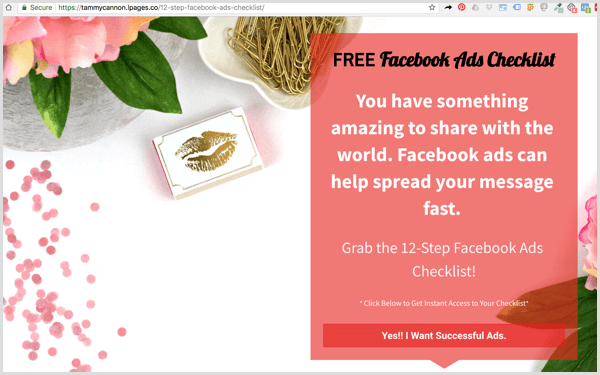
Try to use a separate landing page just for your ads, not for all traffic coming from Google or social media. This way, you can track your ads more accurately. For instance, the landing page below is used only for a specific Facebook ad campaign and uses the same language that’s in the ad copy.
After someone successfully opts into your lead magnet, webinar, video series, challenge, or another offer, you send them to a thank-you page. The thank-you page allows you to track the conversions and trigger the next ad in the sequence. Add the CompleteRegistration pixel event to this page, and when someone lands on it, you have a conversion. This step is important for creating the rest of your dynamic ad sequence. For the thank-you page below, the PageView and CompleteRegistration event pixels are loaded and will fire anytime someone opts to receive the lead magnet. Anyone who lands on this page will then start seeing ad #2 (the nurture ad).
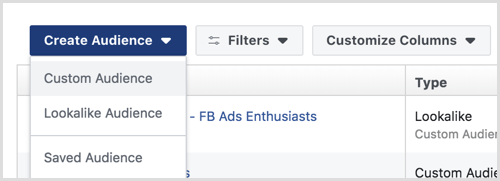
Create Custom Audiences for Each Day of Your Funnel Now you want to create a Facebook custom audience out of everyone who opts into your initial offer. This is essentially the trigger campaign that will begin the dynamic ad sequence. For this example campaign, you’ll be showing four Instagram Stories ads over the course of 7 days. The first custom audience you create will be for days 0-3. In Facebook Ads Manager, select Audiences to open the Audiences dashboard. Then click Create Audience and choose Custom Audience.
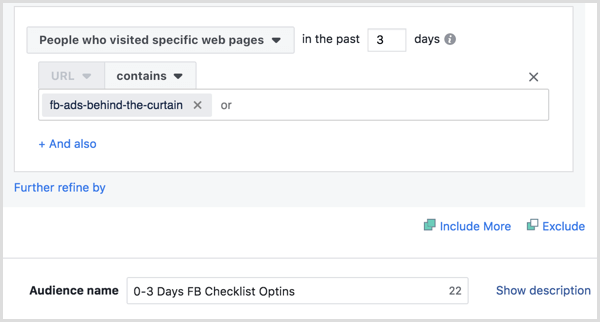
On the next page, choose Website Traffic. Now you need to select the parameters for this Facebook custom audience. From the first drop-down list, select People Who Visited Specific Web Pages and choose the number of days (3, for this example). Then enter the URL for your thank-you page or the after-opt-in URL that will trigger the sequence. Finally, type in a name for your audience and click Create Audience.
Now repeat these steps to create a Facebook custom audience for each day of your funnel. For this example, you’ll need four custom audiences for the four ads that you’ll be showing. The rest of the custom audiences will look like this:
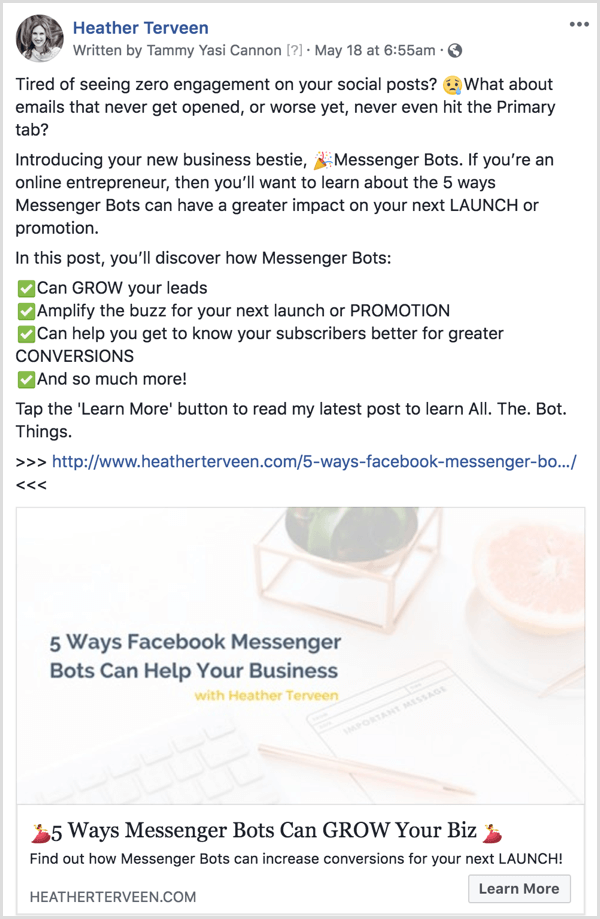
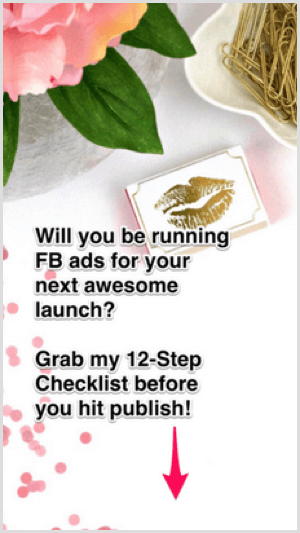
After day 3 of this campaign, you’ll turn off days 0-3 and turn on days 0-6. On day 6, turn off days 0-6 and turn on days 0-7, and so on to complete the dynamic sequence. If you want to run this campaign for longer than 10 days, just repeat the process of turning on and turning off certain days of the campaign. Note: You may choose to show only one ad (ad #2) in the dynamic sequence for the duration of your campaign. You can keep it simple when you’re starting out, and when you get the hang of it, add more ads to the sequence. #3: Choose Your Ad CreativeNow that you’ve created your Facebook custom audiences, it’s time to choose your ad creative. What type of hook, nurture, testimonial, and ask ads will you create? Let’s look at some samples. Ad #1: the Hook Ad The goal of the hook ad is to draw your ideal client into your community. Think about what you can offer for free to provide value to this audience. A checklist, video series, challenge, coupon code, or webinar are all helpful pieces of content you can promote to help hook your ideal client into the solution you provide.
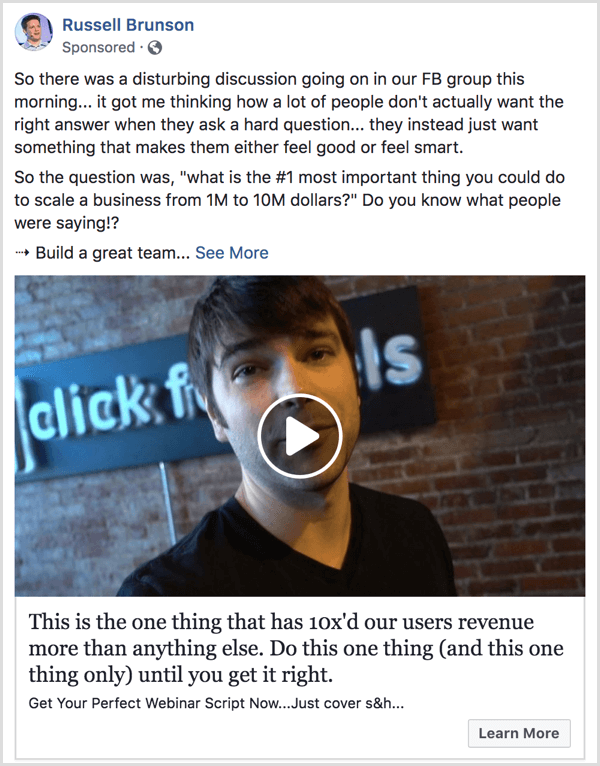
Above is an illustration of a successful Facebook hook ad from Heather Terveen, who teaches entrepreneurs how to set up ManyChat bots. Ad #2: the Nurture Ad This is where the dynamic sequence kicks in. The only people who’ll see this ad are those who opted into the hook ad. This audience is now warmed up to you because they received your freebie, training, or challenge. Use this ad to provide even more value to new leads. You should promote related content the audience consumed from the hook ad. For instance, if the hook ad was for a checklist, the nurture ad can be for a video walking people through the checklist in greater detail. Ad #3: the Testimonial Ad If your dynamic ad sequence is designed to lead people to an offer for your products or services, the next ad is the testimonial ad. Do you have a client who has achieved something great with your solution? Were you included in another authoritative publication or podcast? Now is the time to tell your new community about it through a testimonial ad. Russell Brunson does a good job of establishing his authority through his client’s results in the following Facebook ad.
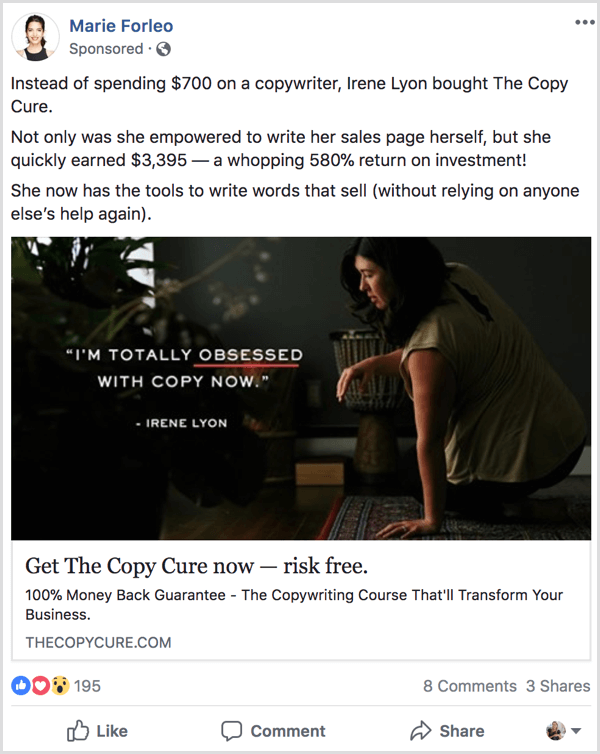
Ad #4: the Ask Ad Now that your new leads are primed with valuable content and a sense of your expertise in the field, it’s time to make them an offer. This offer needs to be the next best step in solving the problem that got them opting into your lead magnet in the first place. This audience is now ready to take advantage of the new paid strategies you will provide. Marie Forleo does a good job with this Facebook ask ad. She’s already proven herself and warmed up her audience, which allows her to ask her customers to buy her online course.
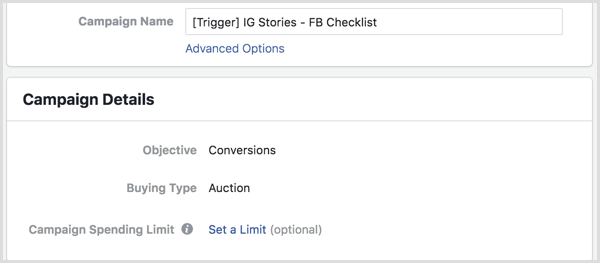
Once you’ve decided which types of ads you’ll show to your warm leads, you’re ready to start setting them up in Ads Manager. #4: Set Up the Trigger CampaignAd #1 is your hook ad and will trigger the rest of the ads in the dynamic sequence. Head over to Ads Manager to create your dynamic campaign. Name your campaign something you’ll identify as the first ad in the sequence. In this example, name it the “Trigger” campaign and choose the Conversions objective.
Set your budget, placement, and targeting options at the ad set level just like you normally would for any campaign. Set up your ad creative at the ad level, and pause this campaign until you’ve created the rest of the ads in the dynamic sequence.
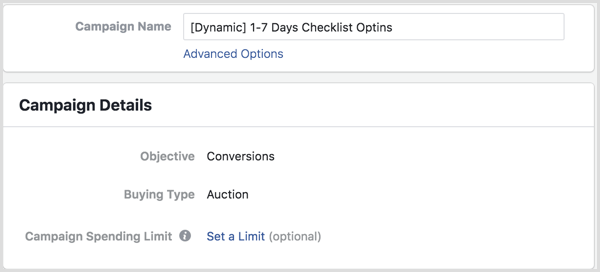
#5: Set Up the Sequenced CampaignWith ad #1 set up, now create a dynamic sequence for ad #2. In this example, you want to show an Instagram Stories nurture ad to everyone who opted into the checklist that includes a video on how to do steps 1 and 2 of the checklist. Create the Campaign In Ads Manager, create a new campaign and label it the “Dynamic” campaign. When people convert on the trigger ad, they’ll begin seeing these dynamic ads immediately.
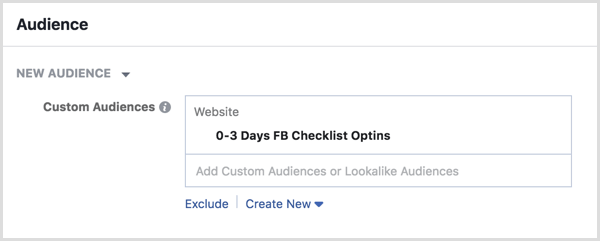
Set Up the Nurture Ad After you’ve created your dynamic campaign, it’s time to use all of those custom audiences you created earlier. Click on your campaign, and at the Ad Set level, label the first ad set “Days 0-3” plus your details. In this illustration, within 3 days of someone converting and downloading the checklist from the trigger ad, they’ll start to see ad #2.
Next, choose the custom audience you created earlier. This lets Ads Manager know that this group of people is ready to be shown ad #2.
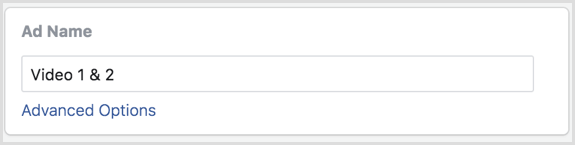
Now you’re ready to create ad #2 at the ad level of this dynamic campaign. This is the nurture ad that gives new leads a chance to watch a step-by-step walk-through video of the first two steps. When you choose an ad name, use the action you want them to take. For this example, name the ad “Video 1 & 2.”
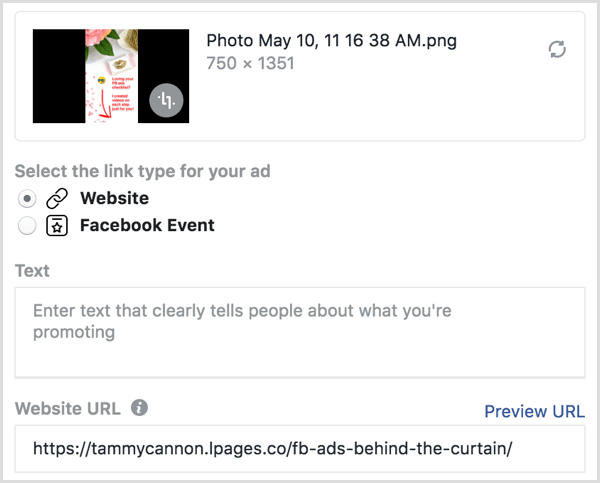
Now upload your creative and enter the URL you’ll be sending people to. In this example, you want to send people to a landing page where they can watch the video.
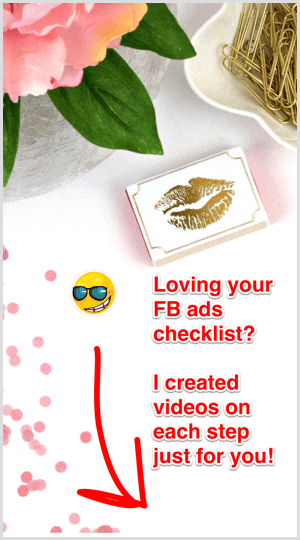
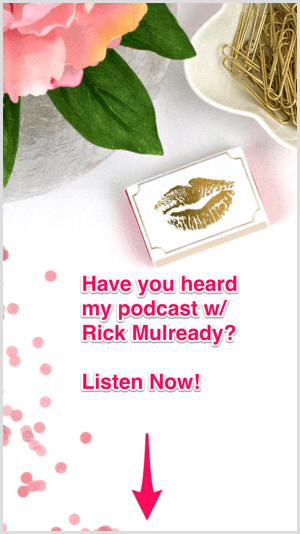
Here’s what the nurture ad looks like for this illustration. It’s the next logical step after someone downloads the checklist and it will help them get even more out of it.
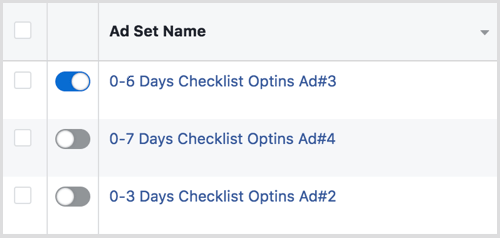
Anyone who downloads the checklist will receive this same ad for days 1-3, so now you need to create the ad for days 4-6. Set Up the Testimonial Ad Back at the ad set level, name the ad set to coincide with the days (0-6 Days Checklist Optins).
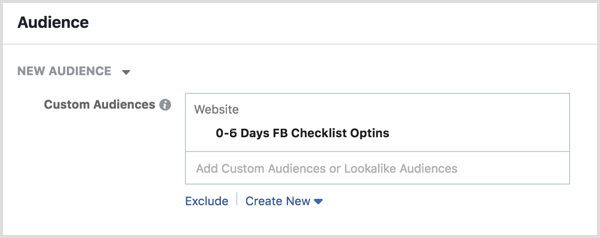
Select the custom audience you created for the next ad in the sequence (0-6 FB Checklist Optins).
Now you’re ready to upload the image and URL for ad #3. Notice how all of the ads in this dynamic sequence look similar, which reminds people who opted into the hook ad that this ad is coming from the same business. They’ll be more likely to stop and take action.
Set Up the Ask Ad Now you’re ready to set up the fourth and final ad in the dynamic ad sequence. This is ad #4, the ask ad, and it will run on day 7 of this sequence. Go to the ad set level of your dynamic campaign and name this ad set for days 0-7 (0-7 Days Checklist Optins).
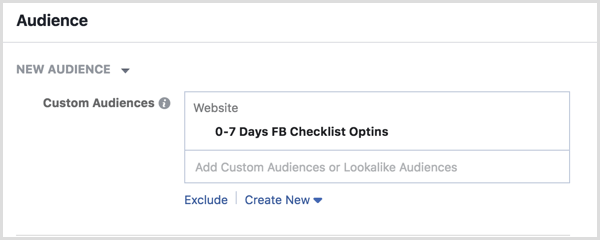
Choose the custom audience that you created for day 7 (0-7 Days FB Checklist Optins).
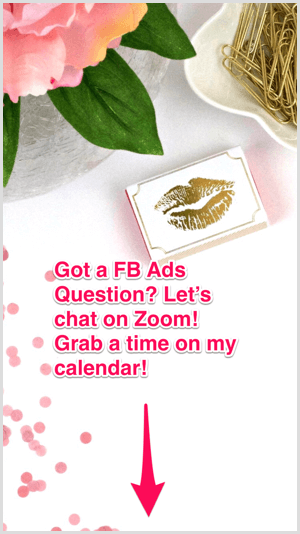
Next, add your creative at the ad level. In the ask ad, you can ask for anything you want your new leads to do. In this example, you want to learn more about their business and you’re asking if they’d like to schedule a call with you.
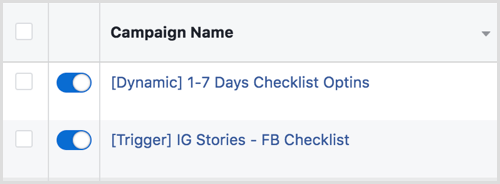
#6: Run Your CampaignNow that you’ve set up your campaign, it’s time to publish your ads and see them go live. Let’s take a look at the dynamic sequence at the campaign level.
At the ad set level, you can see the audiences that each ad will be delivered to.
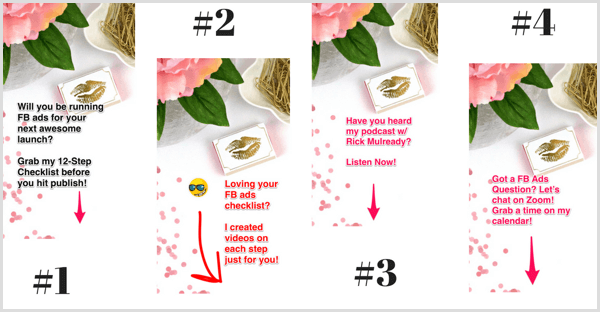
Here are the Instagram Stories ads for this illustration. By naming each ad set with the corresponding ad, you can quickly see which ads are being delivered to which audience.
Tip: Per Jessica Walman from the Jessica Walman Agency, make sure you send enough people through the dynamic ad sequence. Building these custom audiences with warm leads will allow you to create lookalike audiences down the road. Conclusion You may be familiar with dynamic ads as they relate to ecommerce. For instance, for Shopify shop owners, dynamic ads use a product catalog connected to Facebook to deliver specific ads when people take certain actions on the shop’s website. To illustrate, suppose a potential customer looks at a product, puts it in their cart, but doesn’t buy it. An ad will automatically be delivered to remind them they left something in their cart. These dynamic ads make it easy for shop owners to retarget customers effectively based on actions they take in real time. But what if you’re not in the ecommerce space? Can you still use a dynamic ads strategy? The answer is yes, but instead of uploading a catalog of physical products, you develop a sequence strategy of ads based on interactions people take with your content. A dynamic ad sequence can be very simple or complex, depending on your strategy. It gives you the power to add warm leads to each step of your funnel and it’s also flexible. You can decide to show the nurture ad longer because it’s generating more qualified and less expensive leads. What do you think? Will you use a dynamic ads sequence to replace or enhance your email follow-up sequence? Let us know in the comments below! 
Social Media via https://ift.tt/1LtH18p June 18, 2018 at 05:11AM
0 Comments
Leave a Reply. |
�
Amazing WeightLoss Categories
All
Archives
November 2020
|


 RSS Feed
