
|
https://ift.tt/2OW6LEN
How to Split Test Facebook Link Preview Images for More Organic Traffic to Your Website https://ift.tt/2A2hVzn
In this article, you’ll learn how to use three tools to create, test, and optimize blog post images for better performance in the Facebook news feed. 
How to Split Test Facebook Link Preview Images for More Organic Traffic to Your Website by Mitt Ray on Social Media Examiner.
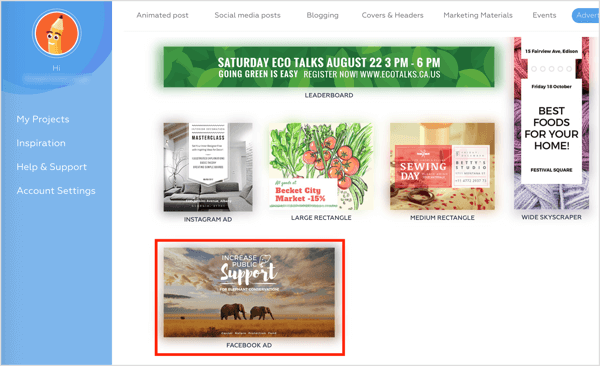
#1: Design 3 to 5 Test Images Using CrelloThe ideal design dimensions for Facebook link preview images are 1200 x 628 pixels, and the minimum dimensions are 560 x 292 pixels; a ratio of 1.91 wide : 1 tall. To create your test images, sign up for a free Crello account. In your Crello dashboard, scroll down and choose the Facebook Ad format.
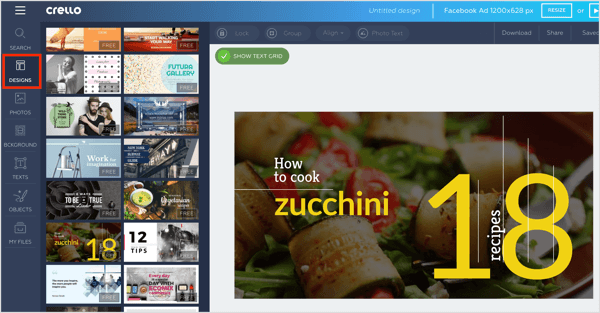
Click on Designs in the left-hand menu. Here you’ll see hundreds of free templates of attractive images you can customize in Crello’s image editor. (Crello is a free tool that also offers access to premium imagery.)
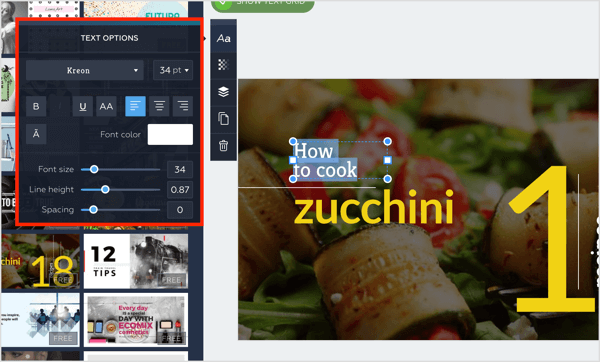
After you choose your template, you need to edit the text to show the title of the blog post or landing page you’ll be sharing. Click on the text area you want to edit to bring up the Text Options box. This will allow you to choose a font and use basic font formatting tools such as size, color, spacing, and more. Once you’ve chosen your font settings, type in your text.
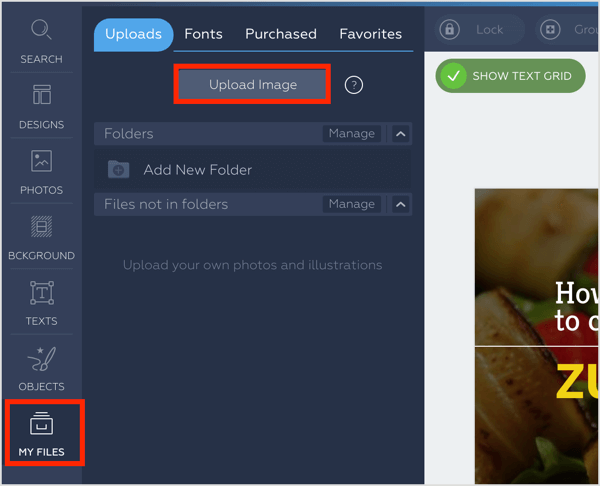
After you add your title text, incorporate some branding; for example, your company name or website URL, and your logo. To upload your logo file to Crello, click on My Files and then Upload Image.
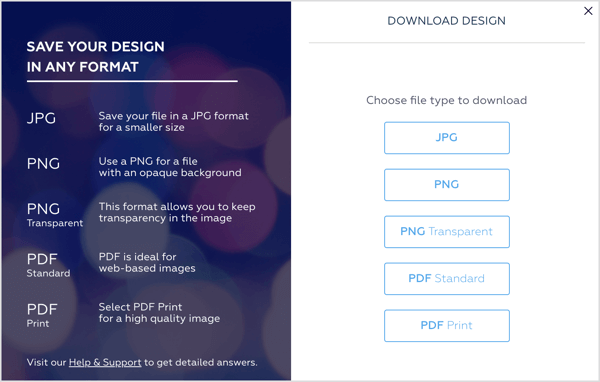
When you’ve finished customizing your design, your image is ready to download. Click the Download button in the upper-right corner and select a file type (JPG, PNG, or PDF).
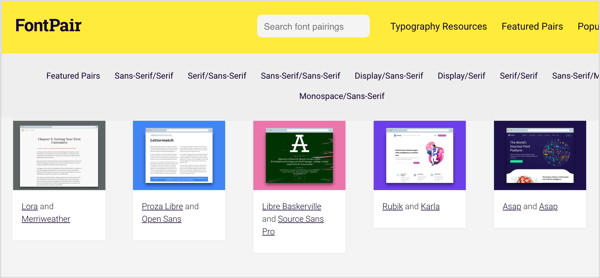
Create several versions of the same image for testing, but keep your changes singular and simple. For instance, use a different font, reduce/increase the font size of two to three words in the title, or use your company name in place of your company URL. Make too many changes to each image, and you’ll never know which change gave you the best result. A Note on Font SelectionCrello offers a wide range of beautiful and sophisticated fonts, but as the goal here is to get your message across, a large, easy-to-read one will work best. If you want to incorporate more than one font in your image design, it’s helpful to use a tool like FontPair, which is free, to identify fonts that work well together. When you find a pairing you like, check the font drop-down list in Crello to see if those fonts are available.
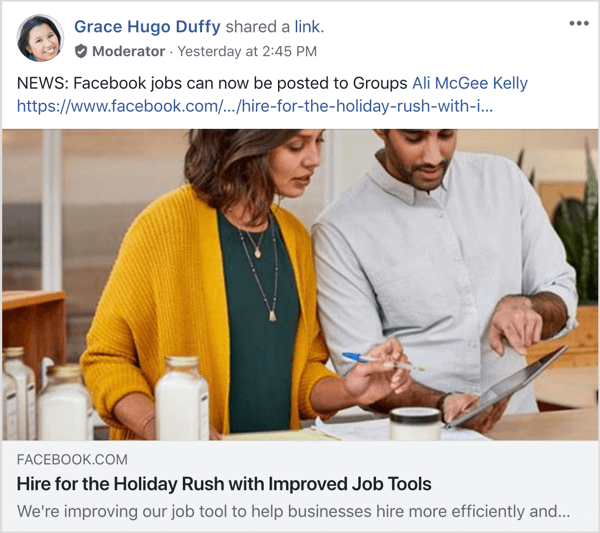
Embed a Single Image in Your Blog PostAlthough you’ll be testing each version of your image in the Facebook news feed, you need to add one version to your blog post or landing page to provide a sense of familiarity when someone visits your page from Facebook. Even Facebook follows this principle.
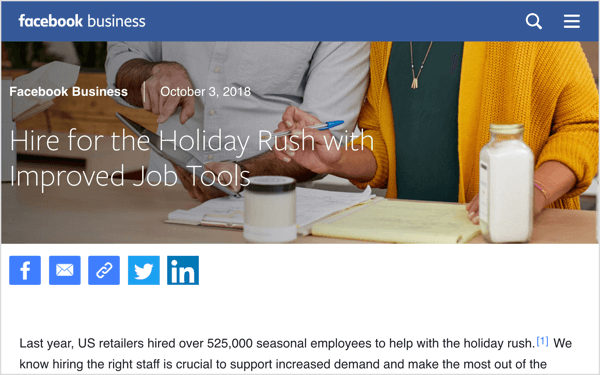
And here’s the Facebook article promoted by the post.
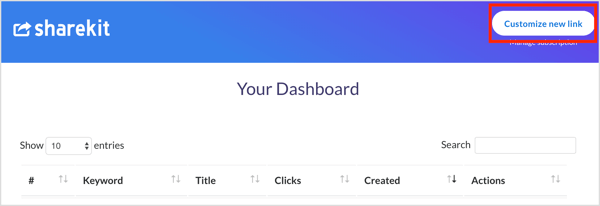
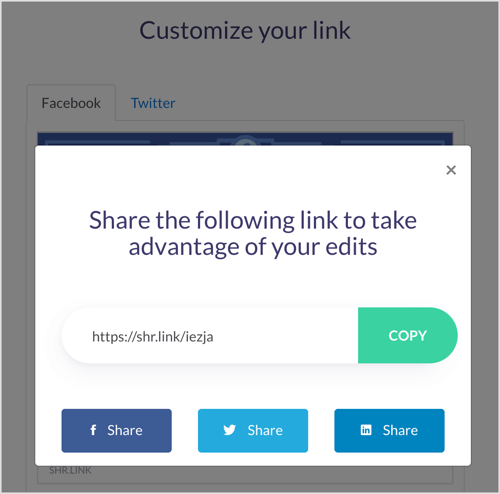
As you can see, the photo present at the top of the post is the same as the one in the Facebook link preview. The title of the post is also the same as the headline. This tactic, known as conversion scent, is often employed with social media ads but is just as useful for promoting content organically. Providing this familiarity gives users confidence they’re on the right page, and makes it more likely they’ll read the article, sign up for your offer, or buy your product. Pro Tip: The image, title, and description of your link don’t have to be flawless replicas of the page you’re promoting, but similarities among color scheme, text, imagery, and calls to action are important. #2: Use ShareKit to Split Test Images for Organic PerformanceAn easy way to test performance of your different images (without running Facebook ads) is to use ShareKit, a paid tool with three plans ranging from $9 to $99 per month. While you can use ShareKit to customize the image, title, and description of the landing page link preview you share on Facebook, we’re focused on testing imagery. After you sign up for an account, click the Customize New Link button in the upper-right corner.
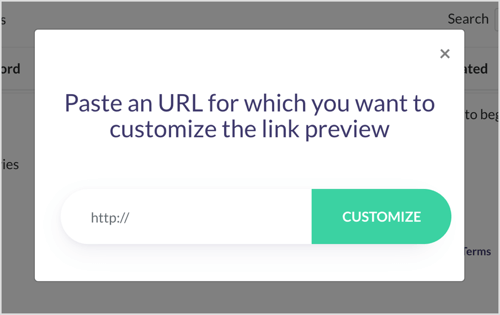
In the pop-up window, paste in the URL for your blog post or landing page.
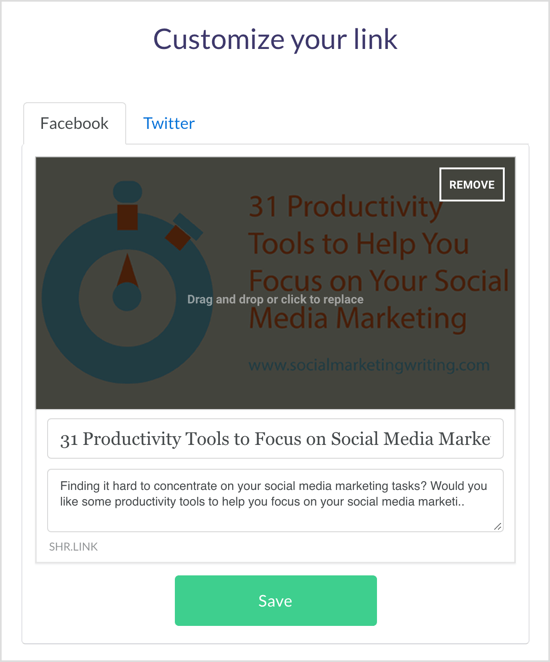
Make sure you’re previewing the Facebook tab and click Save to get a unique shareable link that’s associated with your first image.
Now, click on Customize New Link again and paste in the same URL for your blog post or landing page. When the preview is visible, hover over the image to change to your second image variation. Click Save and you’ll get another unique, shareable link—pointing to the original blog post or landing page—that’s associated with your second image. Continue creating shareable links for each image.
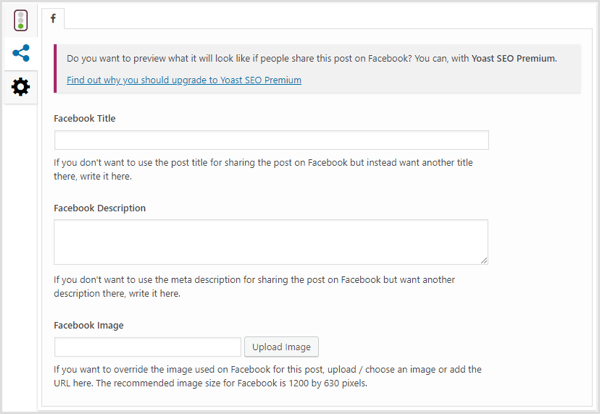
Over a period of 2 weeks, publish each link at different times on your Facebook page to see which image gets the best results. Then use the ShareKit analytics to see which image drove the most clicks. #3: Optimize the Landing Page With the Highest-Performing ImageWhen you’ve determined which image performed best, open up your blog post or landing page and replace the original image with the winning image. Also attach it to the tags of the post so people who share the page also share the proper image. If your site runs on WordPress, you can easily do this by using the Yoast SEO plugin.
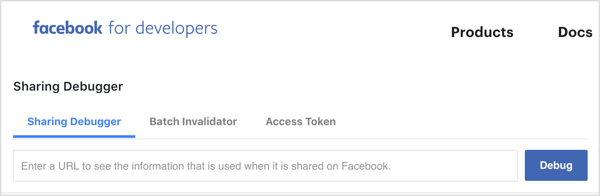
After you’ve replaced the image and amended your tags, you’ll want to use the Facebook Debugger Tool to be sure Facebook is pulling your new image. To use this tool, paste in the URL from your blog post or landing page and click Debug to see the image Facebook shows when the article or page is shared. Continue to click on Debug until the proper image shows.
And you’re done! ConclusionThe primary purpose of Facebook link preview images should be to incite people to click on your link. The image can have a secondary goal such as driving engagement, but that secondary goal should complement the primary goal, not cannibalize it. Design an image that specifically promotes the landing page or blog post the image is associated with, and echoes your branding. These two tips are key to creating Facebook link preview images that get more clicks. To capitalize on each click, use the power of conversion scent to drive more conversions. What do you think? Will you be more likely to test the performance of Facebook link preview images? What tips you do have to share with us? Share your thoughts in the comments below. More articles about driving traffic from Facebook to your blog:
Social Media via Social Media Examiner https://ift.tt/1LtH18p October 10, 2018 at 05:08AM
0 Comments
Leave a Reply. |
�
Amazing WeightLoss Categories
All
Archives
November 2020
|

 RSS Feed
