
|
http://ift.tt/2p7G0yO
How to Integrate Shopify With Facebook http://ift.tt/2tM4PoC
Looking for tips to help? In this article, you’ll find four tips to integrate a Shopify store with your Facebook (and Instagram) marketing. How to Integrate Shopify With Facebook by Ana Gotter on Social Media Examiner.
Why Integrate Your Shopify Store With Facebook?As with any type of integration, connecting your Shopify store with your social media accounts (particularly Facebook and Instagram) can help you improve quality and increase the convenience and efficiency of workflow. Some aspects of the integration will make marketing your store easier, saving you time and energy. The dynamic ads and Facebook shop extensions, discussed later in this article, are both examples of this. Other aspects will help you increase store engagement, build customer trust, and boost sales and profit. Together, these are powerful benefits you can’t afford to ignore. Here’s how to get started integrating your Shopify store with Facebook. #1: Install Facebook’s Tracking Pixel in ShopifyFacebook’s tracking pixel serves two distinct purposes. First, it tracks user activity, allowing you to retarget (with Facebook ads) users who have visited certain pages or taken certain actions on your site. It also tells you how effective your Facebook ads are by showing you how many clicks turned into conversions.
Shopify’s preferred method of installing the tracking pixel on its platform doesn’t require any coding; it’s even easier than installing it on a conventional site. First, locate your pixel in Facebook Ads Manager. Under All Tools, find the Measure & Report category and select Pixels.
On this tab, highlight and copy your account’s Pixel ID number.
Next, navigate to your Shopify store and select Online Store. Then click Preferences. On the Facebook Pixel tab, paste your pixel ID number into the text box, and your pixel will be up and running without a single snippet of code required.
The above method of installing the tracking pixel will automatically track the following six conversions without custom coding:
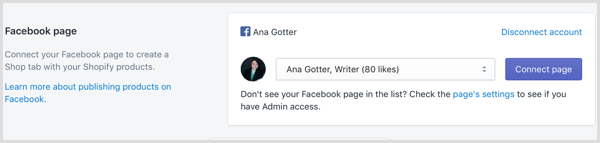
You can track advanced custom conversions by installing code directly to specific site pages, but Shopify doesn’t recommend this unless you have HTML experience. #2: Sync a Facebook Shop With Your StoreAll businesses can create an on-platform Facebook shop where they can sell products and services directly through Facebook. If you’re a store owner, Shopify lets you create a Facebook shop that’s completely synced with your store. This means you can sell products directly on Facebook, and inventory (including prices and sales) is updated automatically on Facebook when it’s updated on Shopify. If you want to, you can even choose to sell only select products on Facebook. Shopify’s Facebook app is the best one to use for this purpose. The app itself is free, though it requires a minimum of the Shopify Lite package at $9 per month. To set up your Facebook shop after you’ve installed the app, you’ll first need to connect your Facebook page.
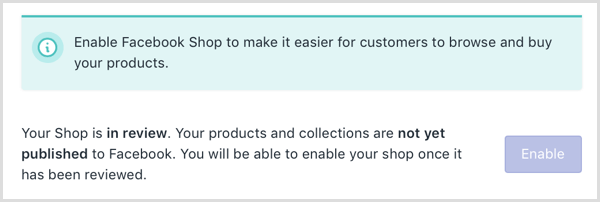
If you already have products online, Facebook will review your shop. This process can take up to 48 hours, during which you’ll see the message below. Once it passes review, you can enable your shop to publish products to Facebook.
You can require users to check out on Shopify or allow customers paying in USD to check out on Facebook without leaving the site or app.
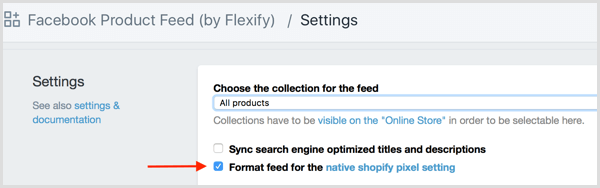
#3: Set Up Dynamic Ads for Facebook and InstagramFacebook’s dynamic ads let you run personalized retargeting campaigns, displaying Facebook and Instagram ads to users that show the exact products they’ve been looking at on your site. This method of setting up dynamic ads for Facebook and Instagram uses an app so you don’t have to alter the coding on your Shopify store, using the pixel as it was installed earlier in the article. First, get the Facebook Product Feed app by Flexify (core features are free, with the option for premium add-ons). After installing it, you can choose the products you want included in the product feed. Note that all products need to be visible in your store to be selectable. After you do this, select the Format Feed for the Native Shopify Pixel Setting option.
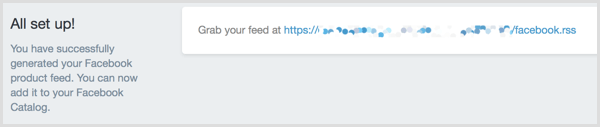
Once your feed is set up, copy its URL, which is at the top of this page.
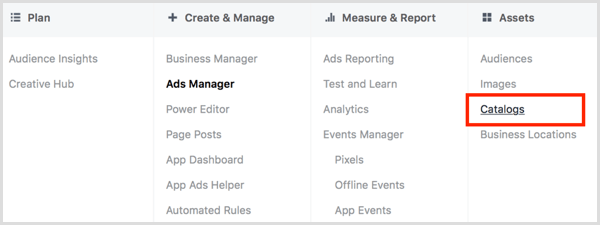
Next, navigate back to Facebook Ads Manager. Under All Tools, find the Assets category, and then select Catalogs.
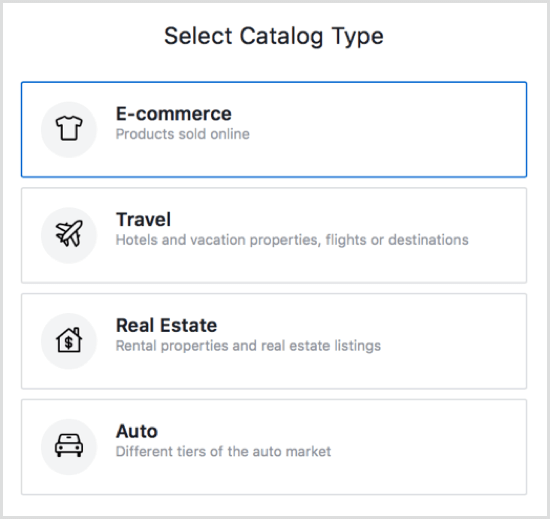
To create your new catalog, choose the category of products you’re selling.
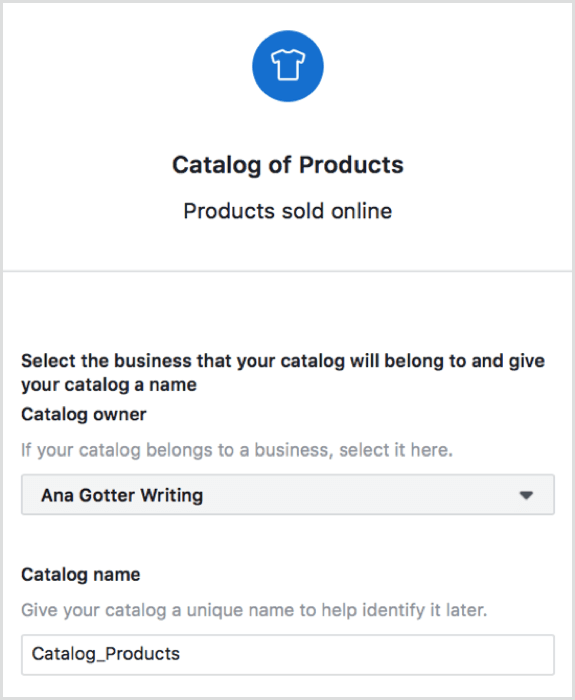
Then select the page to which your catalog belongs and name the catalog.
Choose the option to add products to your catalog.
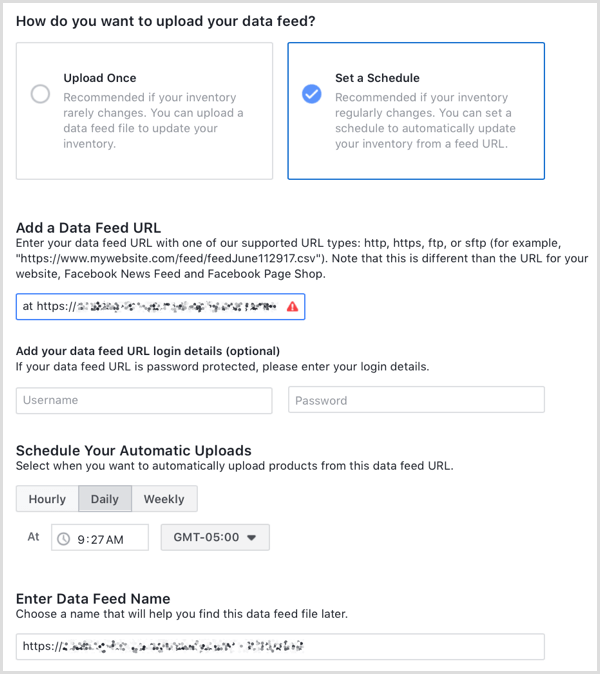
On the next page, you’ll be asked how you want to upload your data feed. Choose Set a Schedule and enter your data feed’s URL in the box indicated. If your feed is password-protected, enter the login information. Finally, choose how often you want the feed to be updated. Because the ads are dynamic, choosing either hourly or weekly is often a good option.
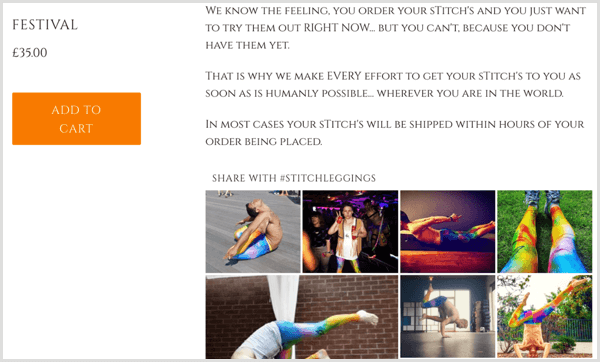
After you do this, your product feed is set up and you’re ready to run dynamic ads. #4: Feature User-Generated Content in Your StoreUser-generated content (UGC) and other social displays will help you sell more. This is largely due to the fact that site visitors trust other users more than they trust brands, so having prominently placed UGC pulled from your social channels can increase your sales significantly. Several apps can help you accomplish this, including Sneez’s Shoppable Instagram Feed. This app will automatically email customers and encourage them to create UGC on Instagram. Through the app, you can then quickly search Instagram for your branded hashtags to find content to add to your store’s feed. You have complete control of what’s added to your site.
Because of the more complicated nature of this type of app, most won’t be free. Sneez is $25 per month following a 7-day free trial, although they offer a refund if your conversion rate hasn’t improved in the first 30 days. Other similar apps to check out include: Pro Tip: Add Your Social Accounts to Your Store Adding your social media accounts to your store gives people easy access to your online community. This opens the door for better relationship-building, and gives new site visitors a chance to see more about your business on social before they decide to purchase. If they’re hesitant, this can be enough to win them over, especially when they see the reviews and UGC on your profiles.
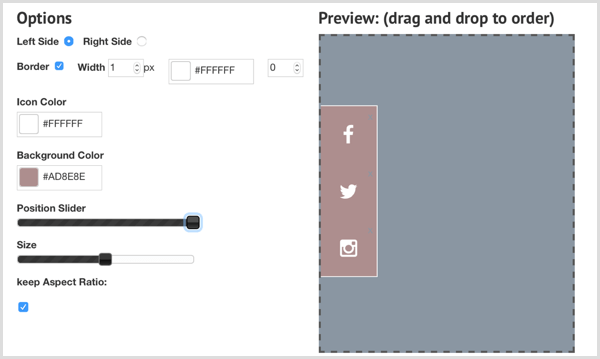
Different Shopify apps (which work like WordPress plugins) allow you to place social media icons on your storefront in prominent places, shuttling users to your different profiles. Social Media Tabs by Leadslide is an excellent free app to check out for this purpose. When you install the app in your Shopify store, you’ll be able to choose which social icons and profiles you want to list. You can also select the color of the icons and the buttons, along with where you want the buttons to appear on your site.
Conclusion Integrating your social media accounts with your Shopify profile can give your marketing efforts greater reach and increase their effectiveness while simultaneously saving you time. Most brands put a lot of effort and money into maintaining their social media presence, so integrating it with a store helps truly maximize those benefits. What do you think? Is your Shopify store integrated with your social media accounts? Which integrations do you find most valuable? Share your thoughts, knowledge, and experience in the comments below!  Social Media via http://ift.tt/1LtH18p March 13, 2018 at 05:09AM
0 Comments
Leave a Reply. |
�
Amazing WeightLoss Categories
All
Archives
November 2020
|


 RSS Feed
