
|
http://bit.ly/2VJlUsY
How to Improve Your Facebook Group Community http://bit.ly/2ZezbvJ
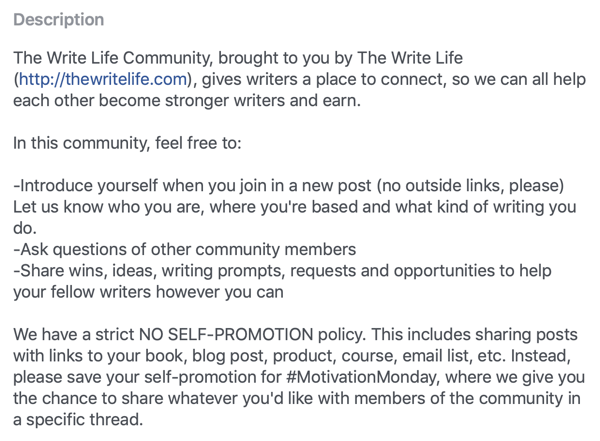
In this article, you’ll discover five Facebook Groups features you can use to guide engagement and conversations among your members. #1: Use Rules and Moderators to Keep Group Content On-TopicWhen you set up your Facebook group, it’s important to share the group’s purpose and make sure group members are aware of it when they join. Define the purpose or intention for how your group will be used; what kinds of information, topics, and content will be shared; and what your group hopes to do for its members. If members join your group believing it will offer useful advice on publishing a book, they’ll be disappointed if they find lots of posts from authors promoting their own books. After you outline your group’s values or mission, make sure you convey this information in the group description and share it when new members join the group. The description will be visible to non-members if your group is public or closed and they’ll be able to see what your group has to offer.
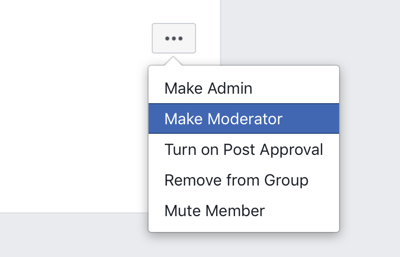
Now let’s look at two ways to align content and conversations with your group’s mission. Enlist ModeratorsManaging a Facebook group gives you an opportunity to develop a unique community. If you post the same content on your Facebook page that you do in your group, you’re not increasing the value it provides and giving people a reason to join. Groups provide an opportunity to focus on a topic or shared interest and explore it in much greater depth than on a public Facebook page, and your content should reflect this. To ensure posts and comments stay focused on your purpose, you need to moderate them. As with group admins, moderators can also approve, deny, or remove posts. To assign the moderator role to a valued member of your group, click the Members tab and find the relevant member. Click the … button next to their name and select Make Moderator from the drop-down menu.
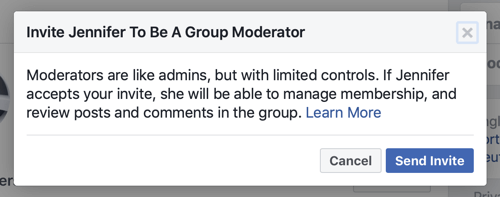
In the pop-up window, click Send Invite. The member will then receive an invitation to become a group moderator. Once they accept, they can start helping moderate posts and comments in the group.
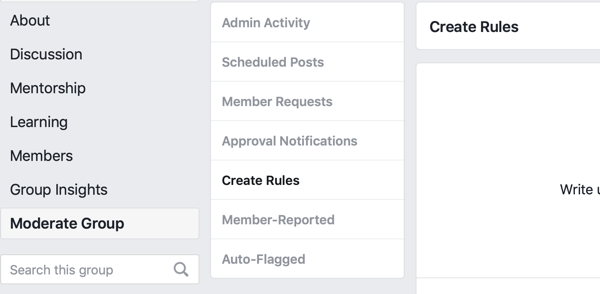
Set Up Rules for Group InteractionsWhen adding new members to the group, you can make a set of rules or community guidelines available to clarify the function of the group. Creating a set of rules allows you to outline the expectations for how group members should interact and clarify the behavior you expect. To add rules to your group, navigate to the Moderate Group tab and click Create Rules.
Then click the Get Started button on the right.
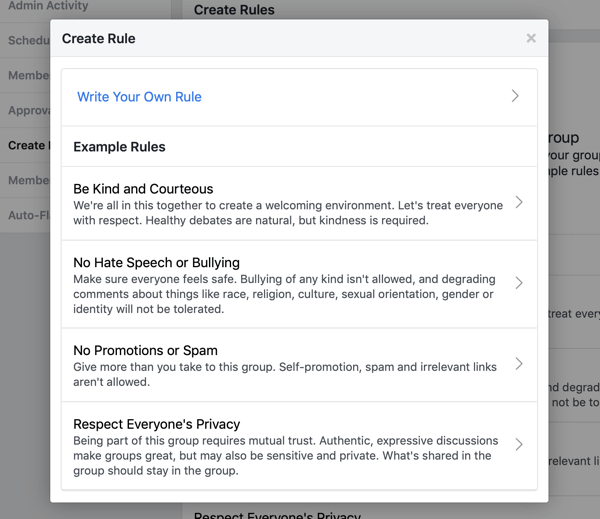
In the pop-up window, you can choose from a list of pre-written rules for groups.
If you prefer to create a custom rule, click Write Your Own Rule and add a title and description.
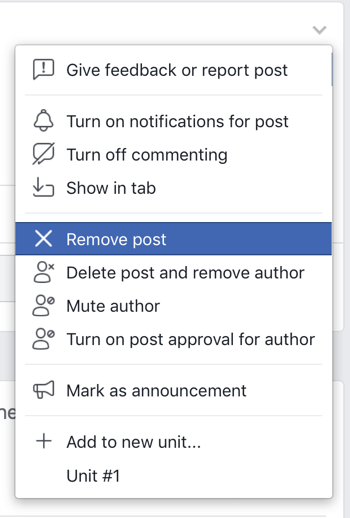
If you discover that a post has violated one of your group rules, an admin or moderator can remove it. To do so, open the post and click the down arrow button in the upper-right corner. Then select Remove Post from the drop-down menu.
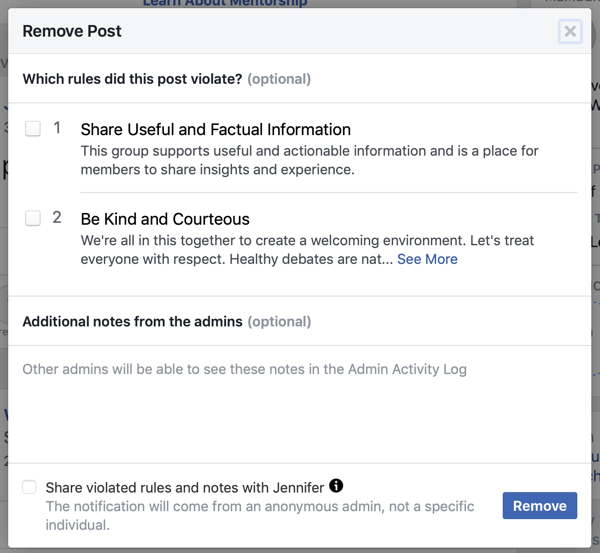
Now select the rules that the post has violated. You can also add a descriptive note to the activity log if you want. Select the checkbox at the bottom of the window if you want to share the note with the member.
When you’re done, click Remove. The poster will then receive a notification that their post was removed, specifying which rules it violated. #2: Enable Badges to Recognize Notable MembersRecognizing group members who are valuable contributors is important, and badges are one way to do that. When you activate this feature (available for groups with 50+ members), badges appear next to the members’ names when they post in your group, highlighting the contributions they’ve made. Some badges are temporary, such as Conversation Starter, which recognizes members whose posts received the most engagement over the previous month. Admins and group moderators, on the other hand, always have badges.
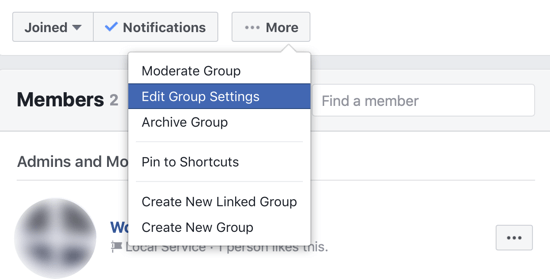
To activate badges for your group, click the More button and then select Edit Group Settings from the drop-down menu.
Now scroll down to the Badges section and click Manage Badges.
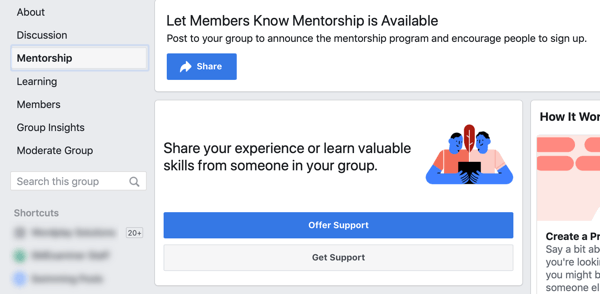
Select the badges you want to activate for your group and click Save. #3: Encourage Member-to-Member Relationships With MentorshipFacebook offers you the option to set up a mentorship program within your group. The program will match group members with mentors who have the background or expertise to help them achieve their personal or professional goals. When you activate this feature, a Mentorship tab appears in your group where prospective mentors and mentees can sign up.
To set up a mentorship program, click the More button and select Edit Group Settings. Then scroll down to Sections and click Add next to Mentorship.
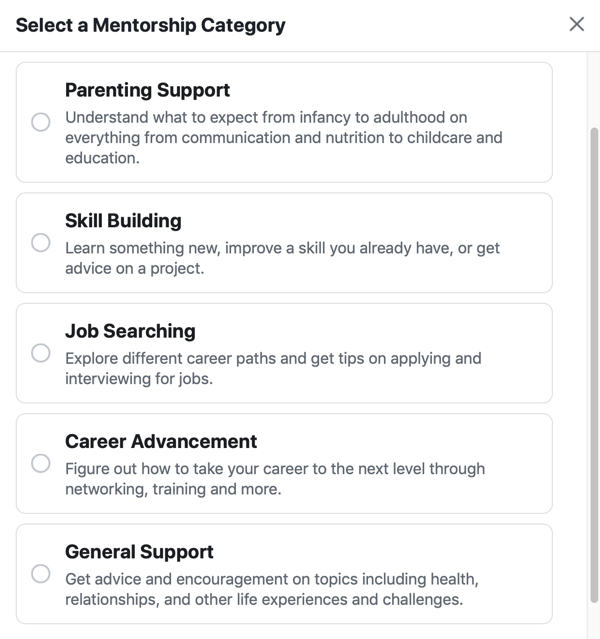
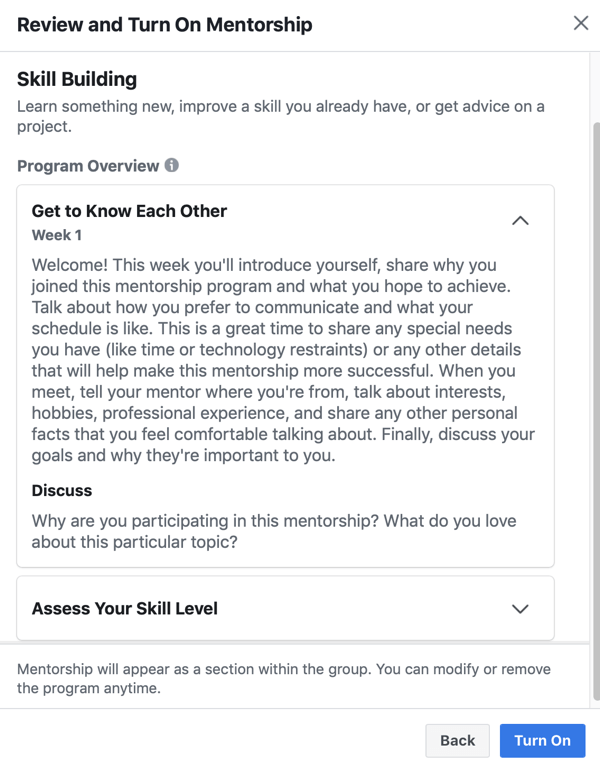
Join thousands of fellow marketers. Receive the training and support you need to accomplish your marketing objectives! Next, select the mentorship program that will provide the most value to members. Facebook offers pre-designed mentorship programs you can choose from such as skill building and career advancement.
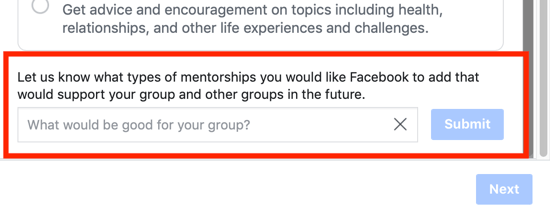
If you don’t see what you need, scroll to the bottom of the window and suggest a program that you’d like Facebook to add.
After you make a selection, Facebook will outline the steps for participants to follow to make the relationship successful. They’ll receive weekly prompts to interact, as well as conversation starters to facilitate communication. Click Turn On to activate the program you’ve selected.
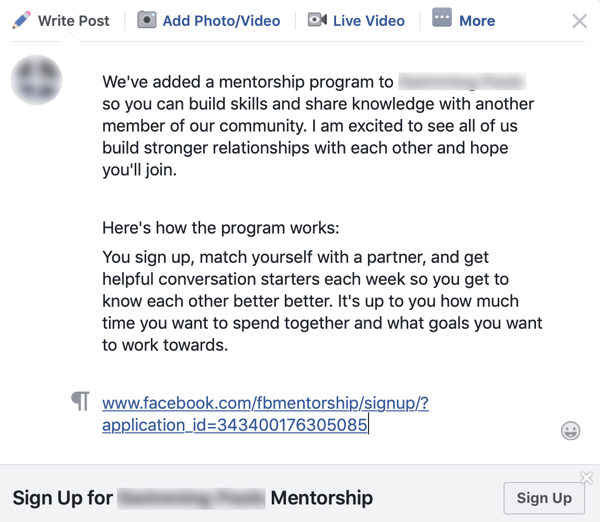
Make sure you announce the Mentorship program to group members. Facebook has a pre-formatted post you can customize to make your announcement. If you know of members in your group who would do well in this role, send them a message and ask them to take part.
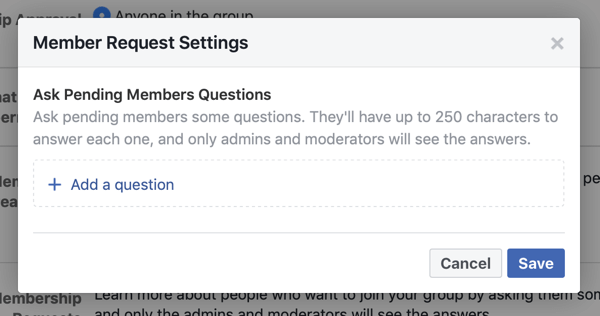
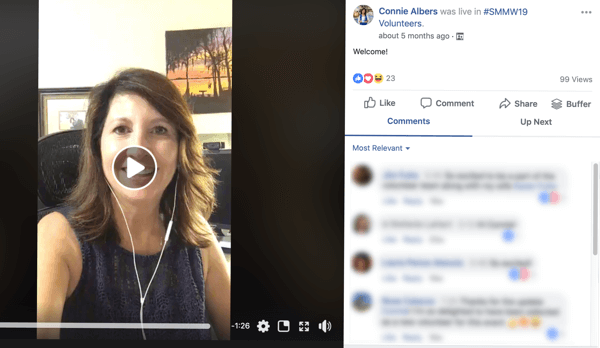
Pro Tip: Follow up with a Facebook Live video or video post to share why you’ve added mentorship to your group. Include a call to action for mentors to sign up or for members to reach out for help. #4: Learn More About New Members by Asking Pending Membership QuestionsWhen adding new members to your Facebook group, you can ask three questions to gain insights about what content they’re looking for from the group and what they hope to gain from being a member. To create pending member questions, click the More button and select Edit Group Settings. Under Membership Requests, click Ask Questions.
From here, you can add up to three questions. You might ask why prospective members want to join your group and find out what issues or information they’re interested in.
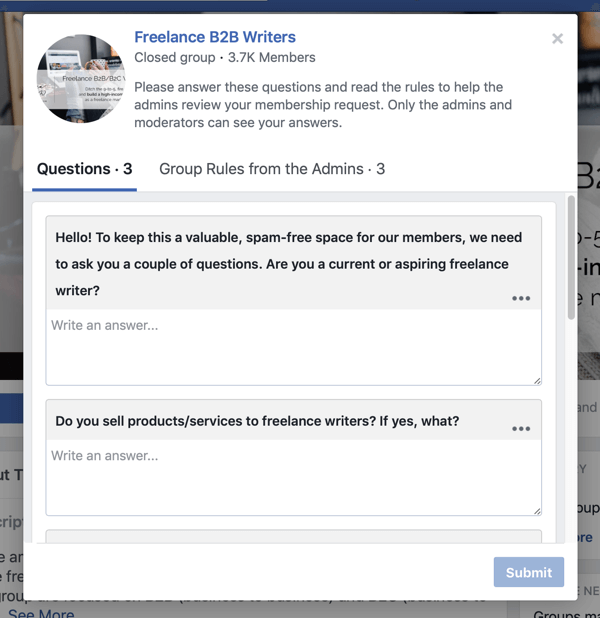
Now when prospective members request to join your group, they’ll be asked to provide this information. Only group admins and moderators will be able to view their answers.
11 Tips to Encourage Facebook Group ConversationsWhen you manage a Facebook group, one of your roles is to facilitate conversations and connections with members. You want to develop a community where members can learn from and support one another. How you structure your content and what you include in your posts are key to getting members to engage. Here are some tips for encouraging conversation within a group:
To highlight the individual contributions, develop a content feature or theme and invite notable members to share their expertise with the group. Here are some ways you can do that:
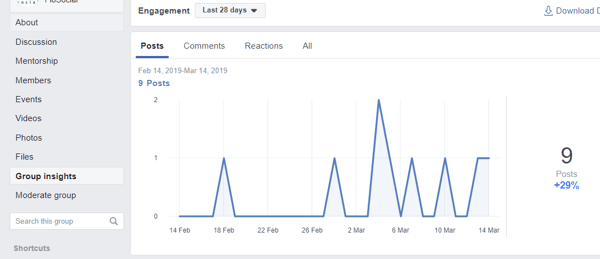
Review Group Insights to Refine Group Conversation EffortsReview your Facebook Group Insights to view the engagement rate of your group, find out how your content is performing, and identify whom your active members are. When you open the Group Insights tab, you see an overview of your group’s performance including growth, engagement with content, and active members. Similar to your Facebook page, you can select a specific time period to refine the data.
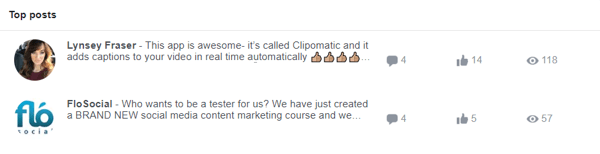
Dive deeper into each section to see more detailed information. Look at your top content for the last month to find out what your group finds value in and engages with. Use these insights to tailor your content based on what resonates with your group.
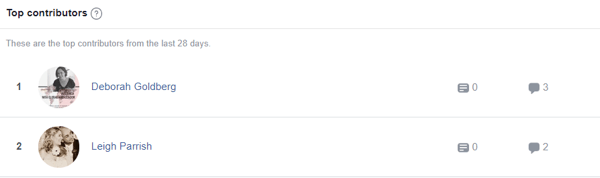
You can also view your top contributors. Nurture these relationships and acknowledge the contributions these members make within your community.
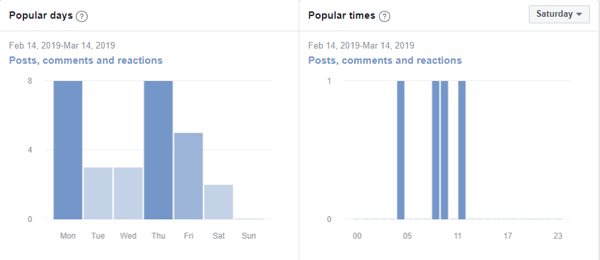
Also review metrics such as popular times of the week and day to post or when your members are most active.
Keep in mind that not everyone in your group will want to engage with you. Some members might simply gain value from the content posted within the group. They’re more comfortable being observers rather than active community members. ConclusionYour role as a Facebook group admin is to create a safe, inclusive atmosphere where members can connect and share experiences, and be guided and supported by a community. Using the Facebook Groups features mentioned above will help you encourage member-to-member relationships, celebrate member contributions, and facilitate sharing ideas. What do you think? Which of these tactics will you try in your group? Share your thoughts in the comments below. More articles on Facebook Groups:Join thousands of fellow marketers. Receive the training and support you need to accomplish your marketing objectives! Social Media via Social Media Marketing | Social Media Examiner http://bit.ly/1LtH18p April 15, 2019 at 05:03AM
0 Comments
Leave a Reply. |
�
Amazing WeightLoss Categories
All
Archives
November 2020
|


 RSS Feed
